Connect an Office 365 mailbox
Connect your Microsoft 365 mailbox, which Finaxis calls Office 365, so the follow-ups you send from Finaxis leave from your own address and your customers' replies come back into Finaxis. You grant access in a Microsoft window, then finish adding the mailbox in Finaxis.
Before you start
- Have the sign-in details of the Microsoft 365 work or school account that holds the mailbox.
- Your organization may require a Microsoft 365 administrator to approve Finaxis before anyone can connect a mailbox.
Start the connection in Finaxis
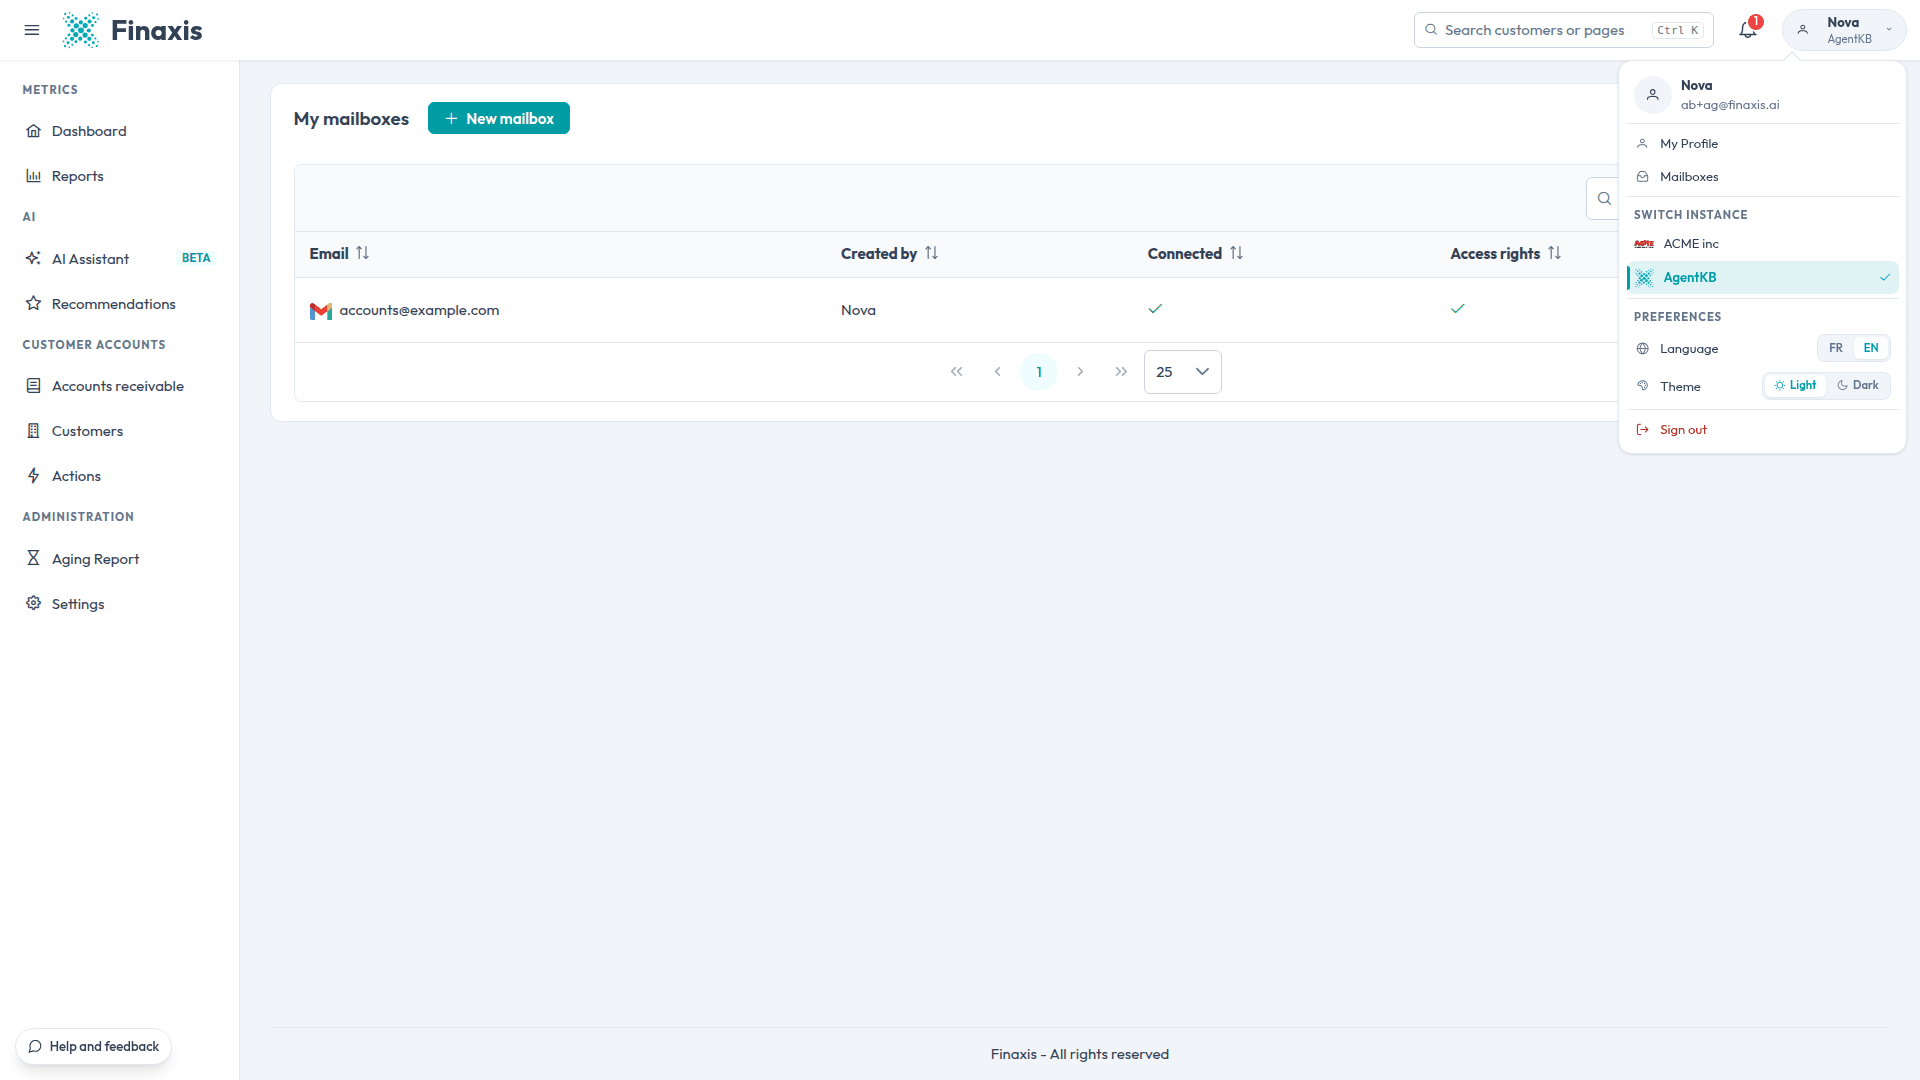
- At the top right, click your name to open your profile menu, then click Mailboxes. The My mailboxes page lists the mailboxes you can use.
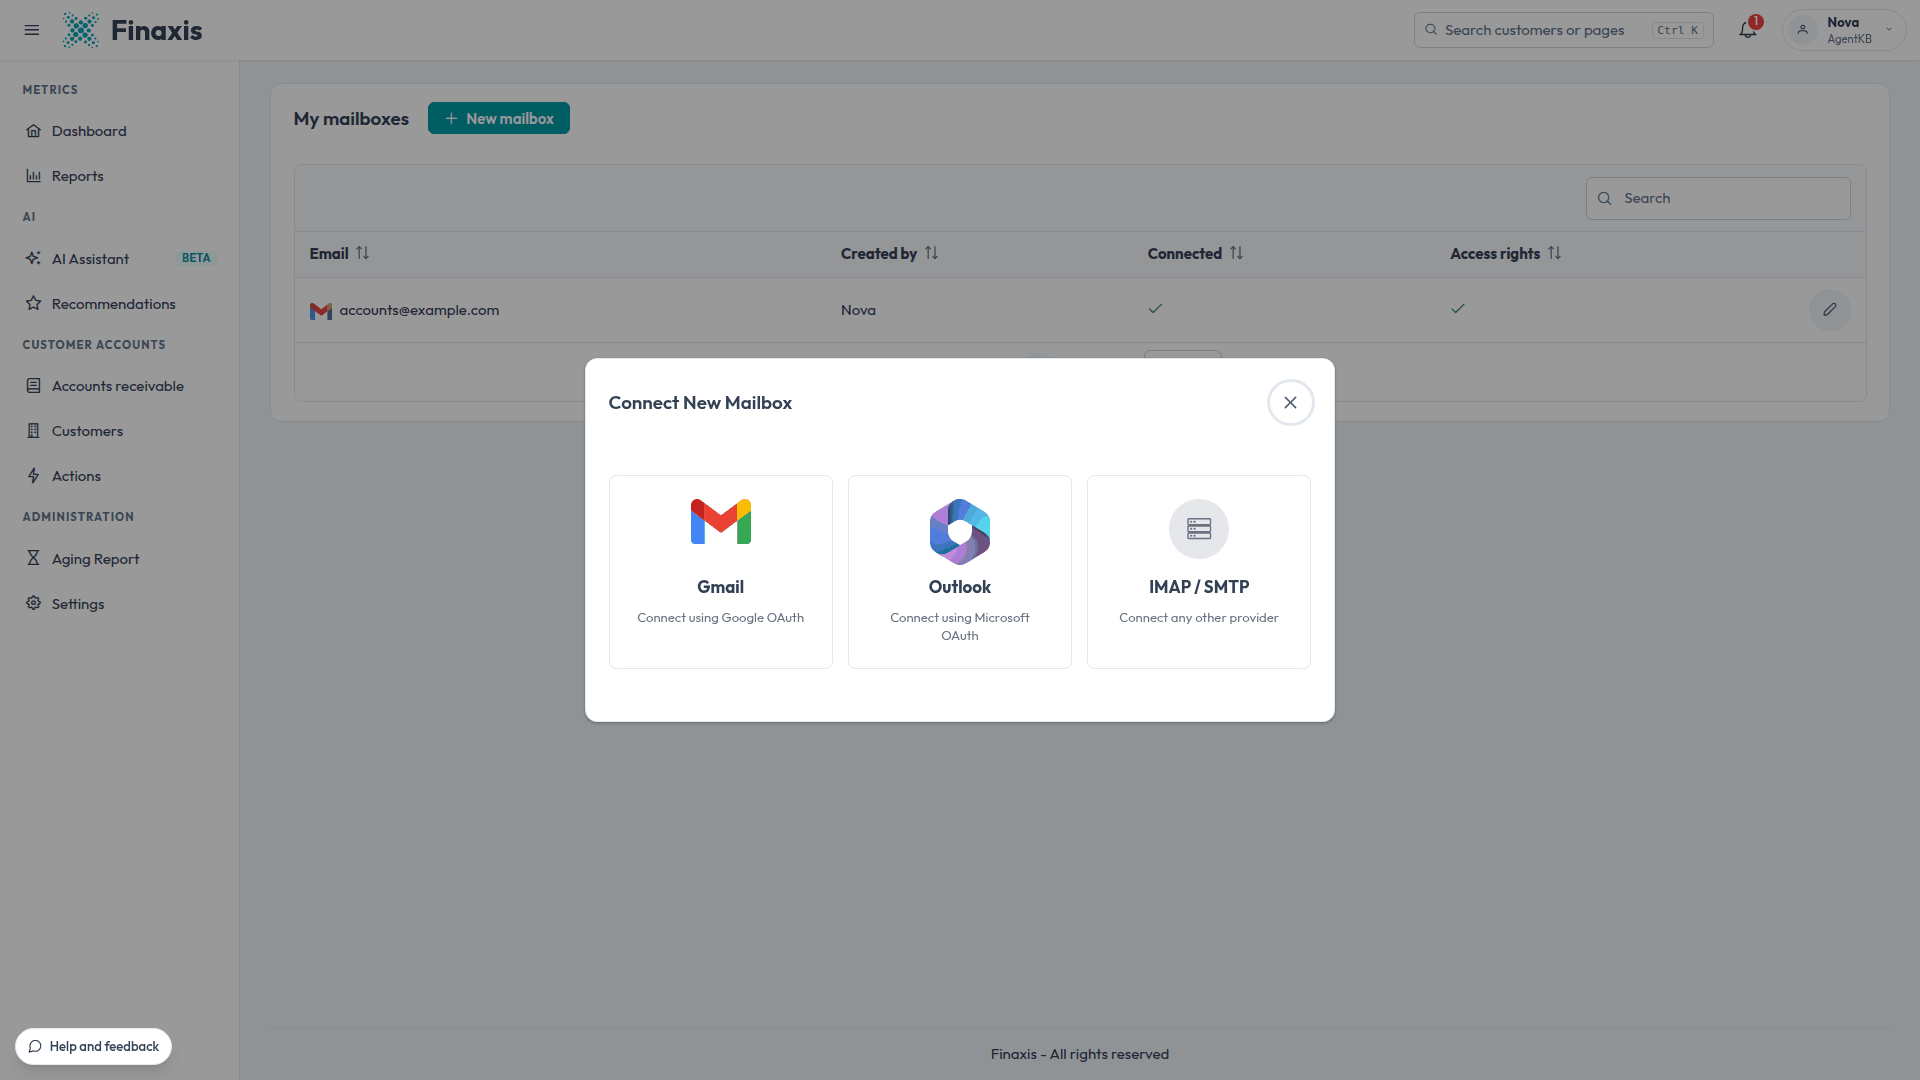
- Click New mailbox, then choose Outlook.
- In the Connect your mailbox window, leave Fetch customer replies checked so your customers' replies are added to their interactions timeline.
- Click Connect my Office 365 account. A Microsoft window opens.
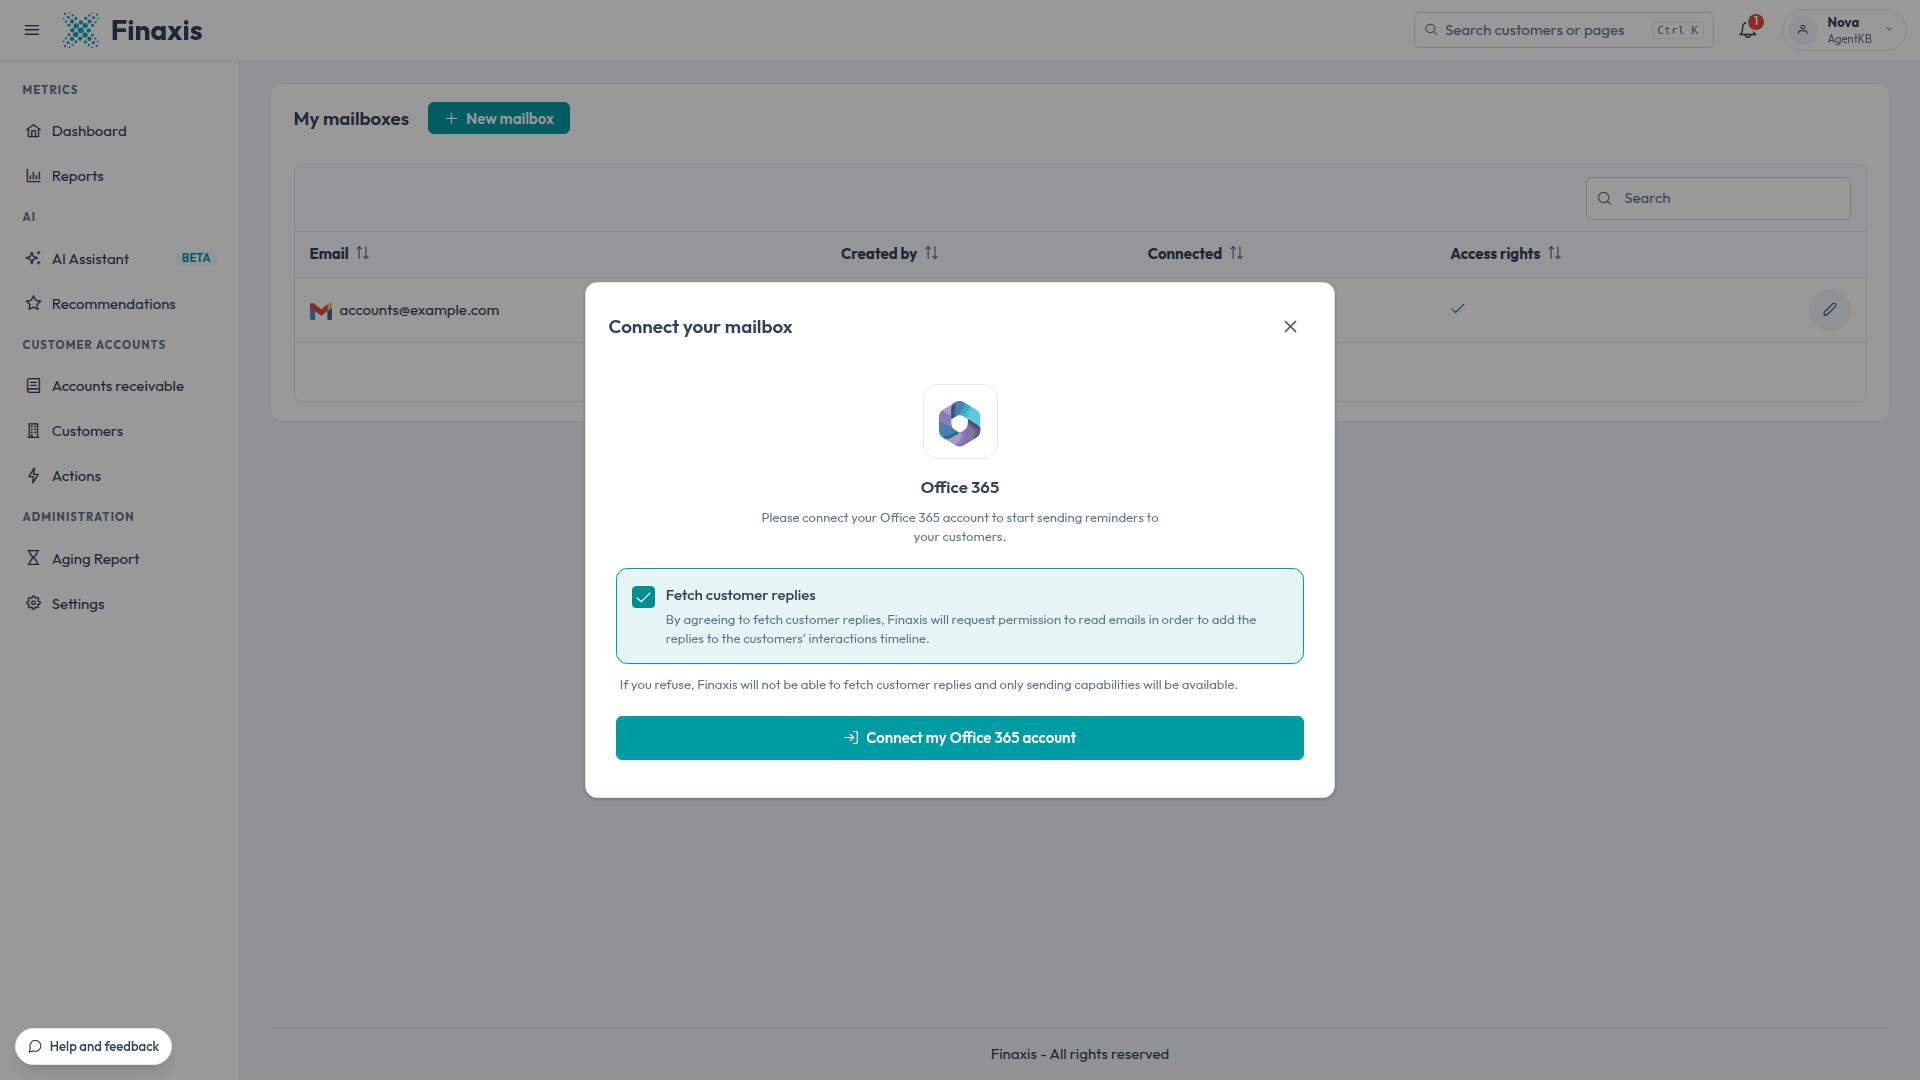
Please note: If you uncheck Fetch customer replies, the mailbox only sends. Your customers' replies do not appear in Finaxis.
Grant access in the Microsoft window
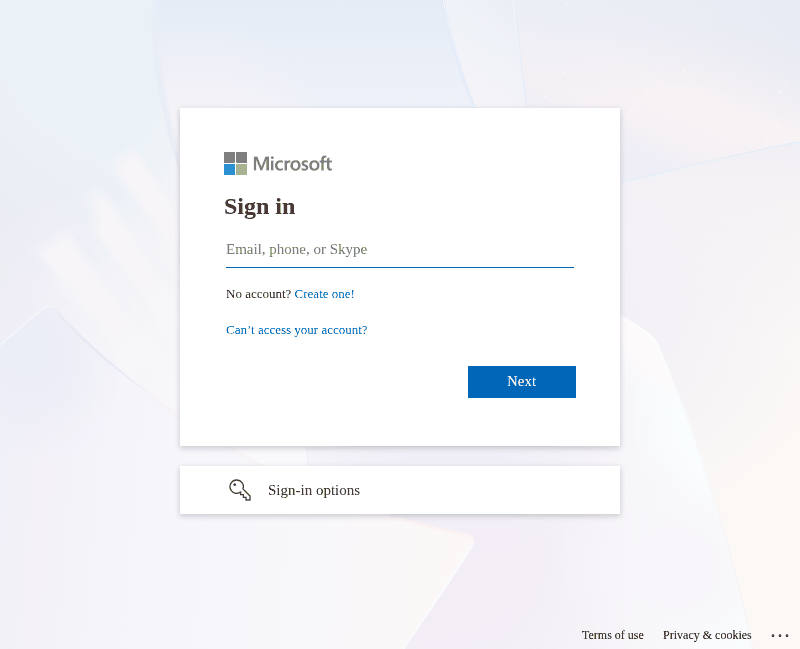
- Sign in with the Microsoft account of the mailbox you want to connect. If you are already signed in, Microsoft shows Pick an account instead: click your account.
- On Permissions requested, review what Finaxis asks for: send mail as you, sign you in and read your profile, keep access to the data you allowed, and read your mail.
- Click Accept. The Microsoft window closes and Finaxis opens the New mailbox form.
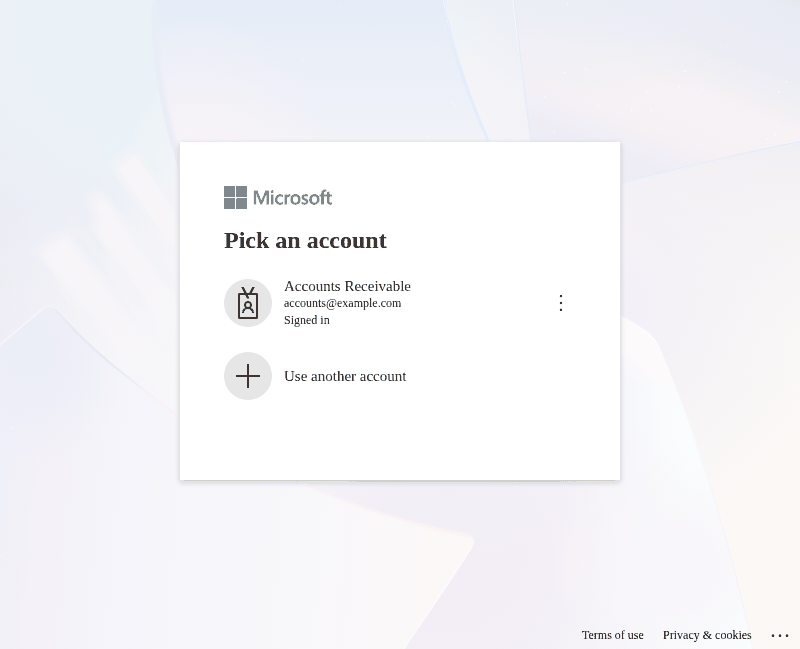
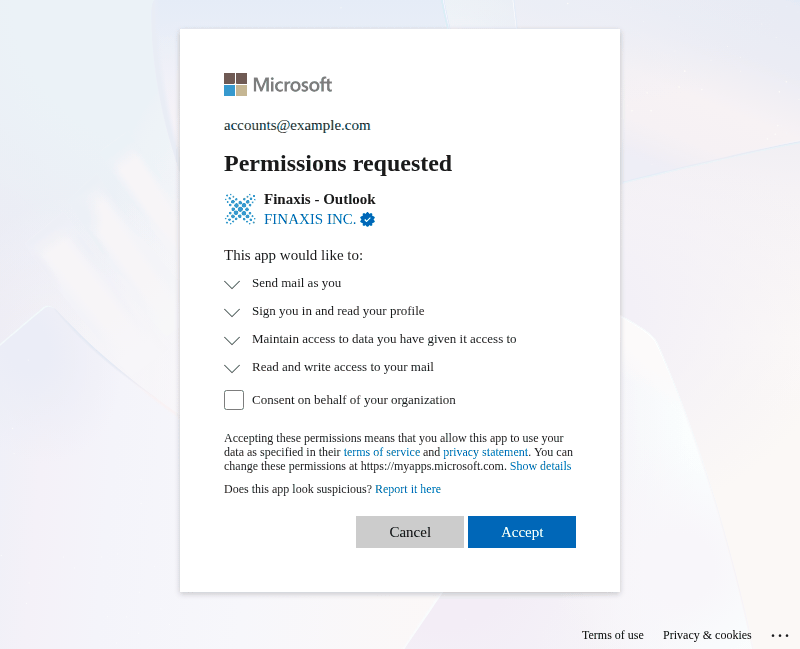
Please note: Microsoft asks for permission to read your mail only when Fetch customer replies is checked. If you are a Microsoft 365 administrator, Microsoft also shows Consent on behalf of your organization. We recommend checking it: Finaxis is then approved for your whole organization, so your colleagues do not each need to be approved to connect their mailbox.
Finish adding the mailbox
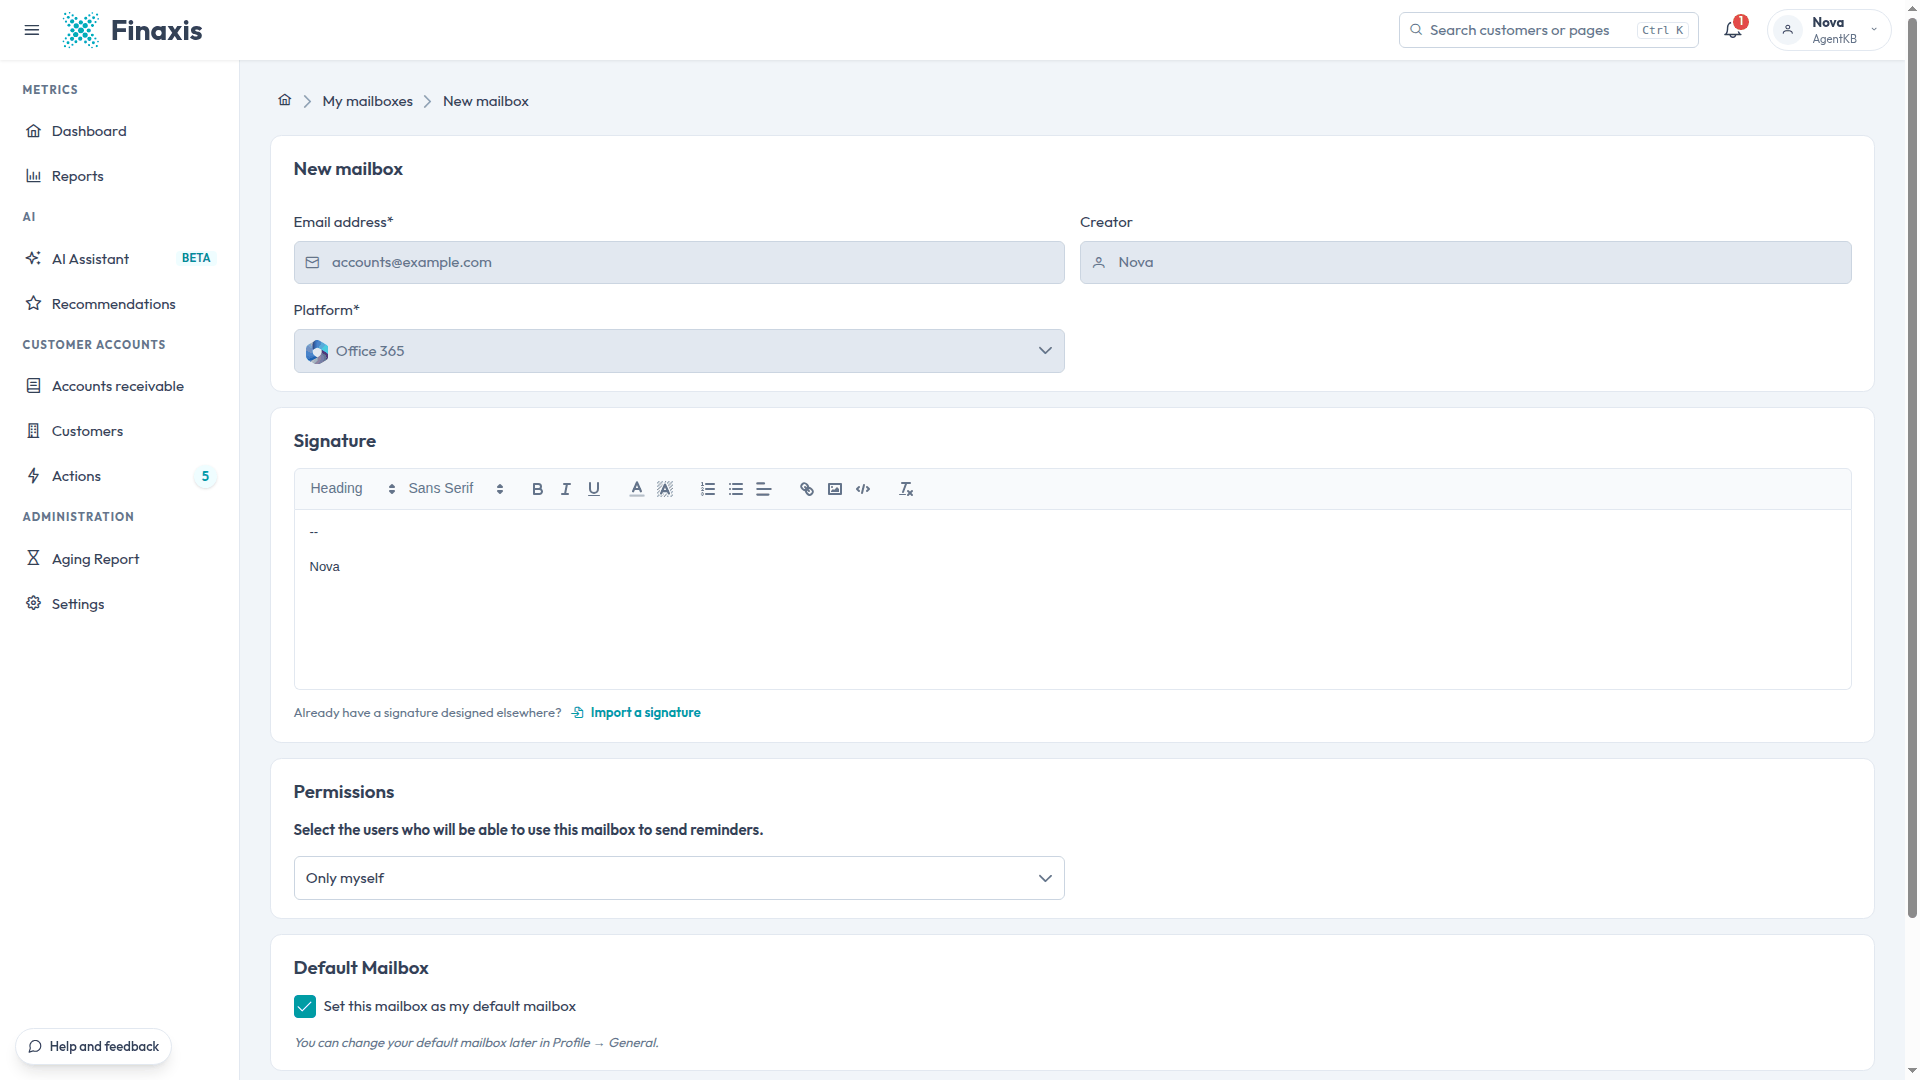
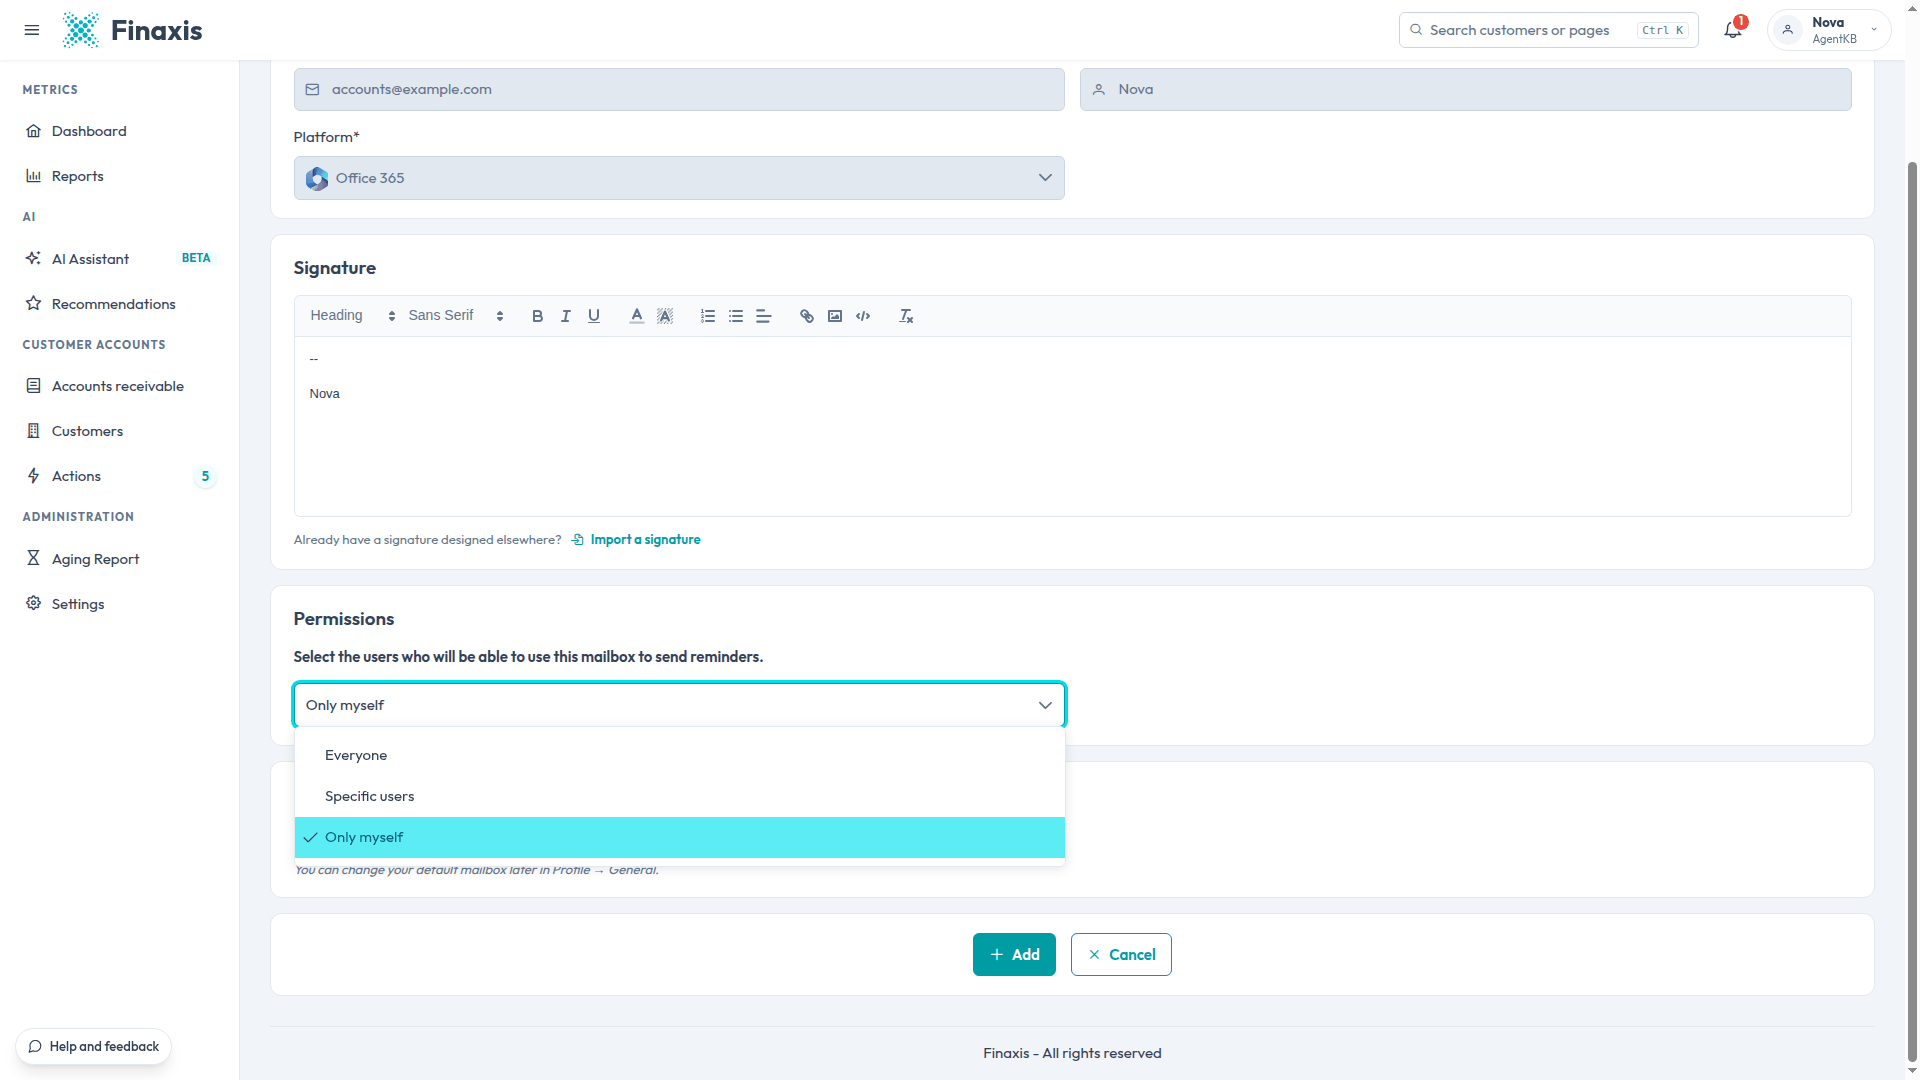
Finaxis fills in the address of the Microsoft account you connected, and you cannot change it. Platform shows Office 365.
Set the signature
- Under Signature, write the signature added to the follow-ups sent from this mailbox.
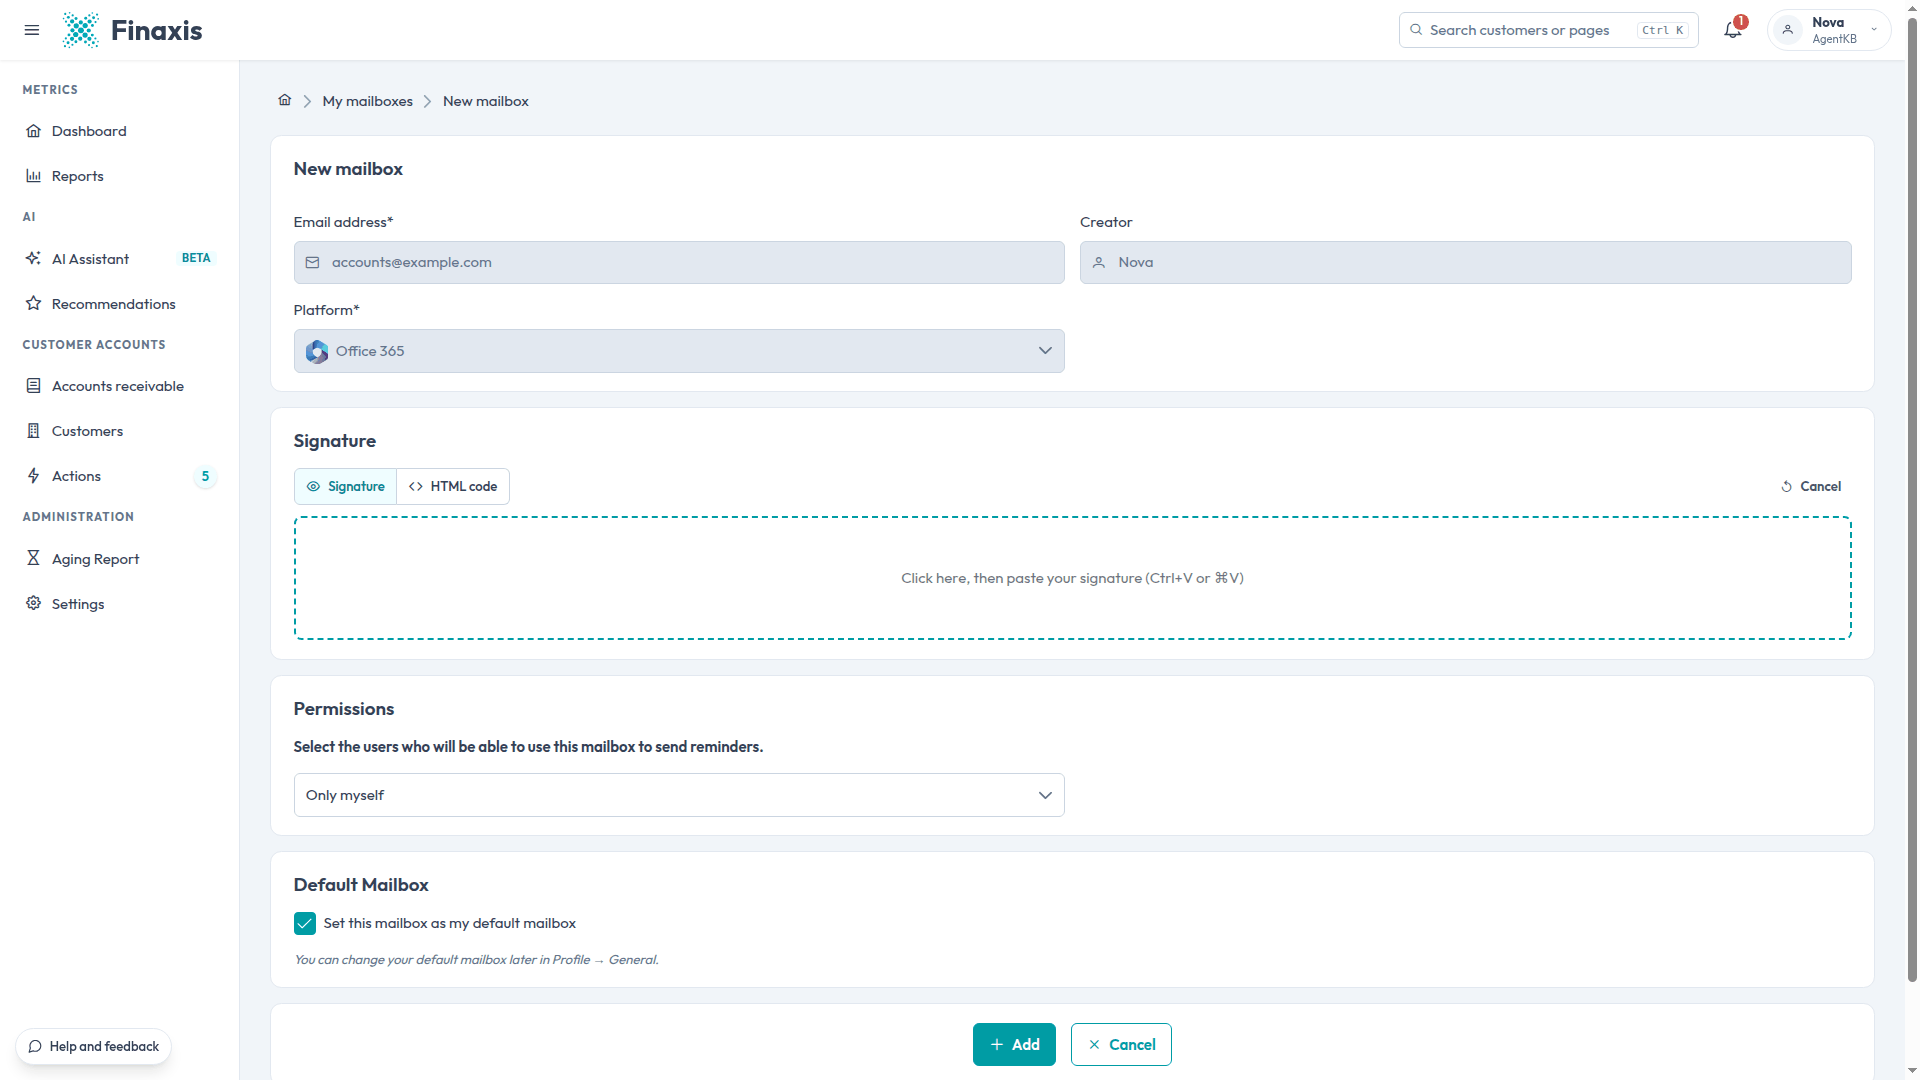
- To reuse a signature designed elsewhere, for example in Outlook or in a signature tool, click Import a signature, then paste it in the frame. Click Cancel to go back to the previous signature.
Choose who can use the mailbox
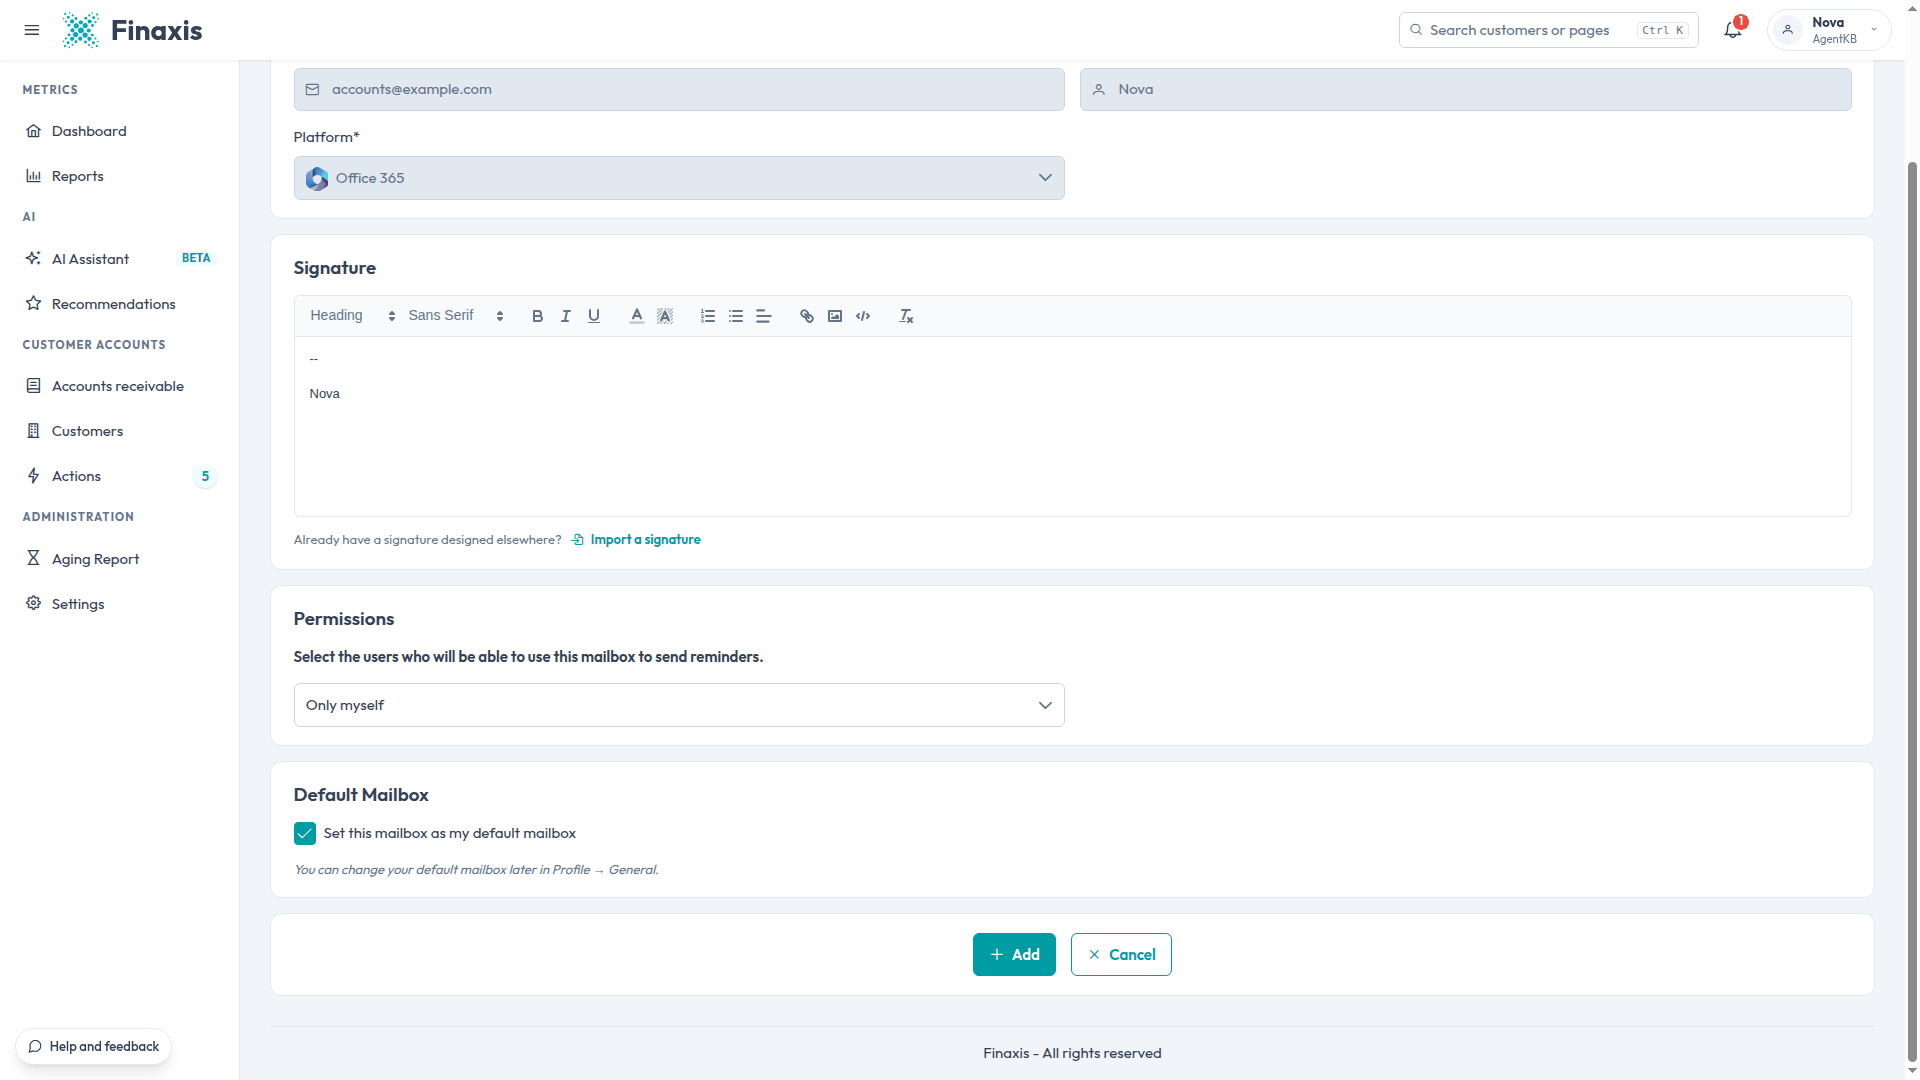
- Under Permissions, choose who can use this mailbox to send follow-ups: Everyone, Specific users, or Only myself. Only myself is selected by default.
- Under Default Mailbox, leave Set this mailbox as my default mailbox checked to send your follow-ups from this mailbox by default.
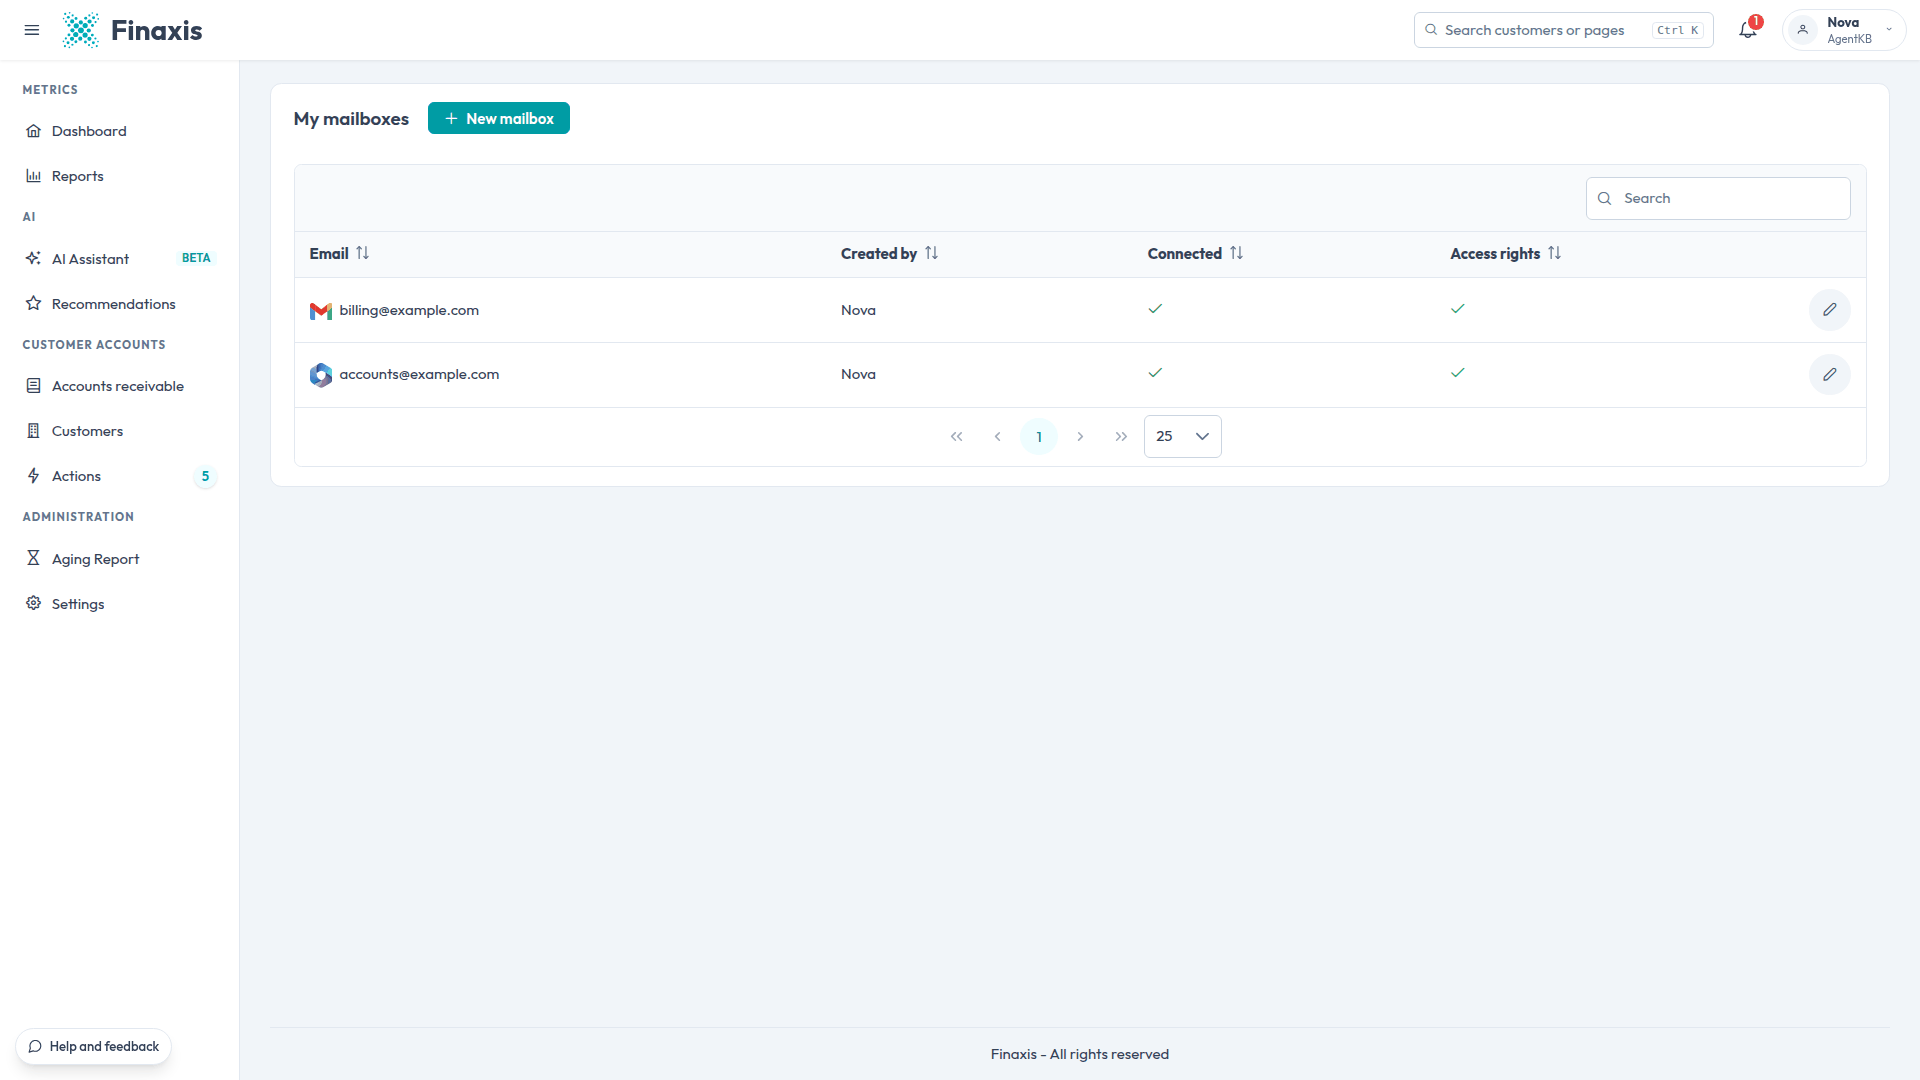
- Click Add. The mailbox appears in My mailboxes, with a check mark under Connected.
Please note: Click Add soon after the Microsoft window closes. If you wait too long, the connection expires and you have to connect the mailbox again.
Troubleshoot the connection
| Situation | What to do |
|---|---|
| Microsoft says an administrator must approve Finaxis | Ask your Microsoft 365 administrator to approve Finaxis for your organization, then connect again. |
| Microsoft says the account has no mailbox or no usable email address | Choose your work or school account rather than a personal Microsoft account, and make sure it is the account that holds the mailbox. If it still fails, ask your administrator to check that the account has an Exchange Online license. |
| The window says the connection link expired | Close the window, then click Connect my Office 365 account in Finaxis again. |
| Finaxis refuses the address | This address is already connected in your instance. Look for it in My mailboxes. |
| A mailbox no longer has a check mark under Connected | Finaxis disconnects a mailbox it can no longer reach and sends an email to the person who connected it. Open the mailbox from My mailboxes: its Status shows whether it is connected, and you can connect it again from there. |
Still unable to connect your mailbox? Write to support@finaxis.ai and our team will help you.
Related articles
Can't find what you're looking for?
Our support team is here to help.