Connect a Google Workspace or Gmail mailbox
Connect your Google Workspace or Gmail mailbox so the follow-ups you send from Finaxis leave from your own address and your customers' replies come back into Finaxis. You grant access in a Google window, then finish adding the mailbox in Finaxis.
Before you start
- Have the sign-in details of the Google Workspace or Gmail account that holds the mailbox.
Start the connection in Finaxis
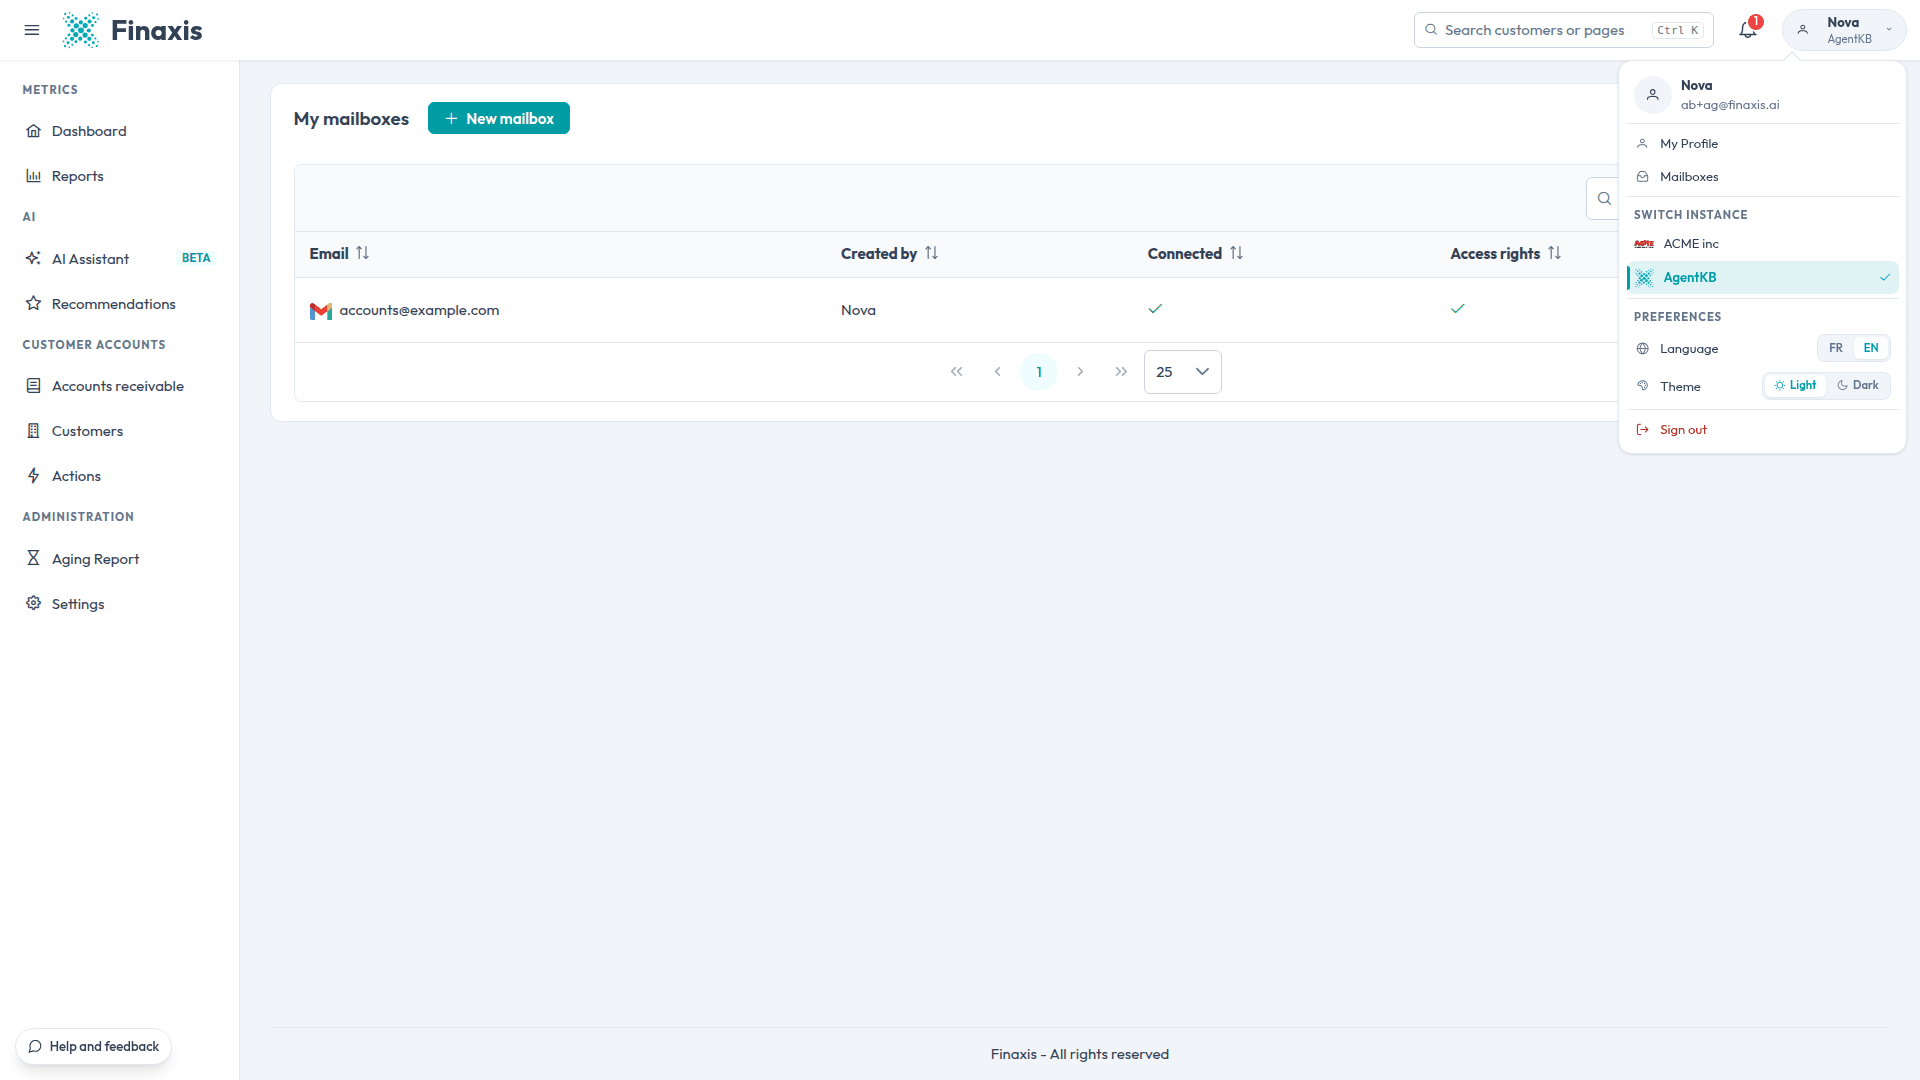
- At the top right, click your name to open your profile menu, then click Mailboxes. The My mailboxes page lists the mailboxes you can use.
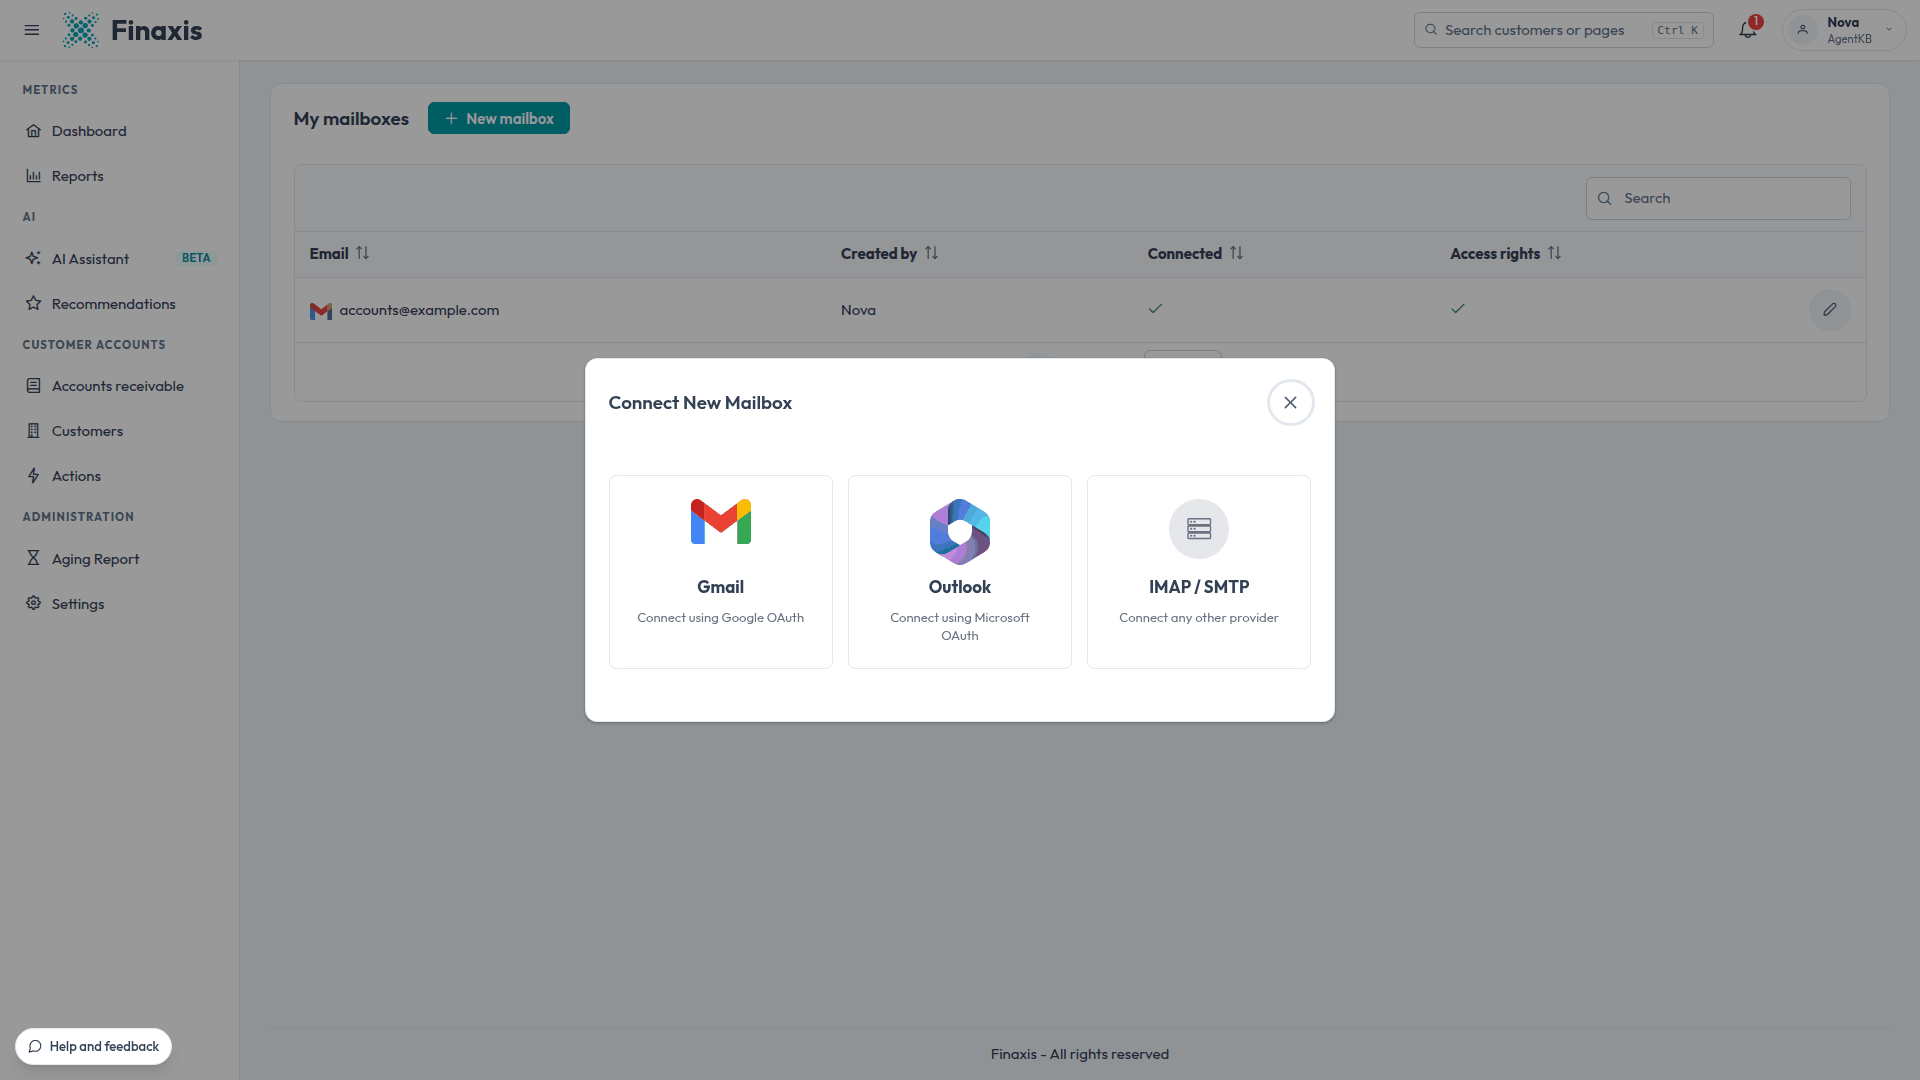
- Click New mailbox, then choose Gmail. This choice covers Google Workspace accounts too.
- In the Connect your mailbox window, leave Fetch customer replies checked. Finaxis then adds your customers' replies to their interactions timeline and can import your Gmail signature.
- Click Connect my Gmail account. A Google window opens.
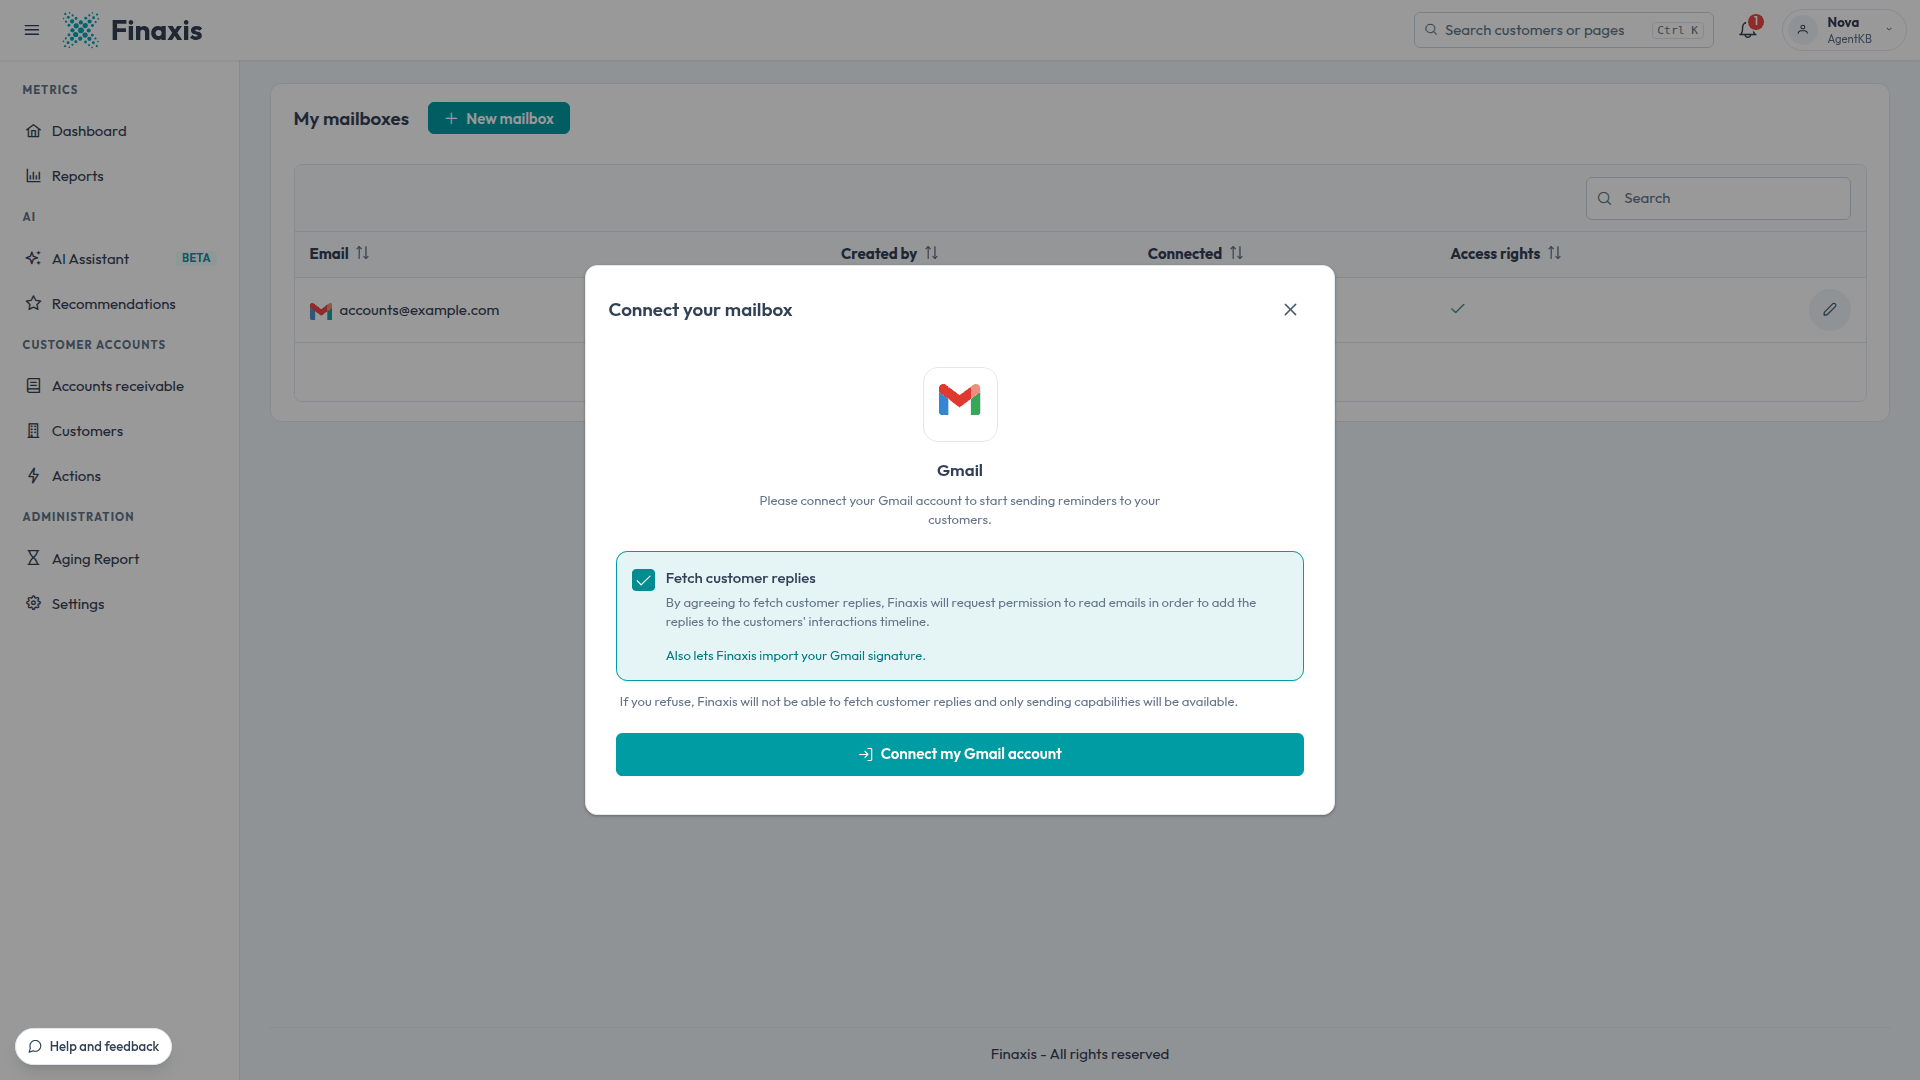
Please note: If you uncheck Fetch customer replies, the mailbox only sends. Your customers' replies do not appear in Finaxis.
Grant access in the Google window
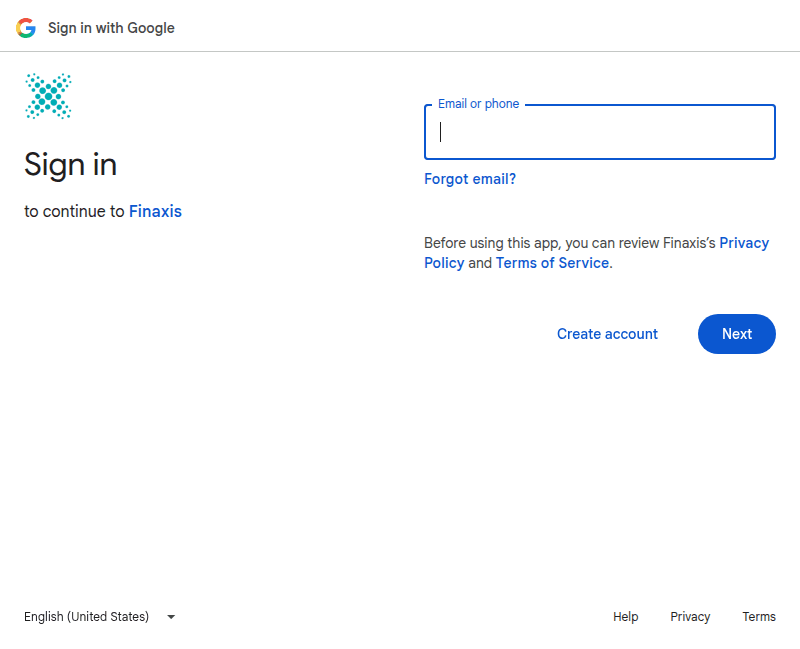
- Sign in to the Google account of the mailbox you want to connect.
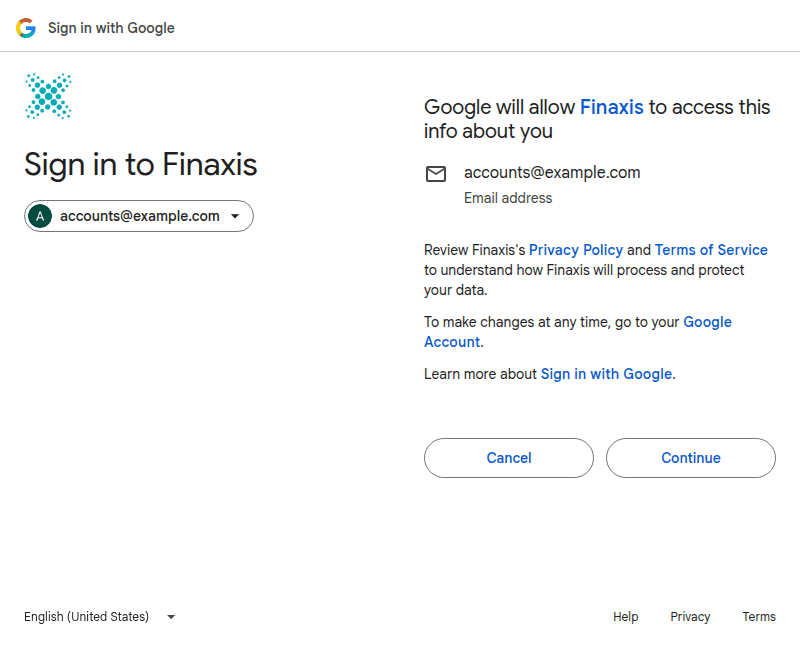
- Google shows the address Finaxis will use. Click Continue.
- Under Select what Finaxis can access, click Select all. We recommend checking every option for the best experience: your follow-ups leave from your mailbox, and your customers' replies and your Gmail signature come back into Finaxis.
- Scroll down and click Continue. The Google window closes and Finaxis opens the New mailbox form.
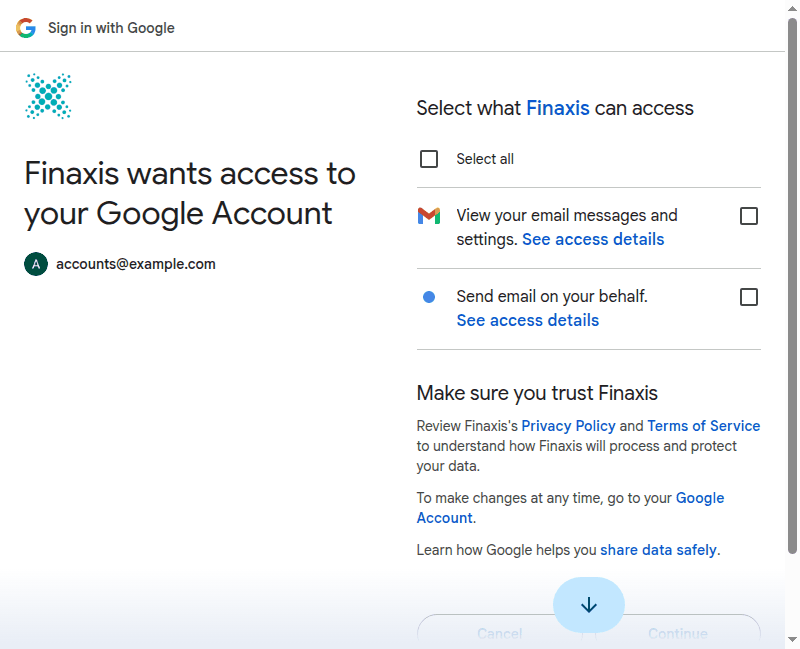
Please note: Google leaves every box unchecked. If you leave one out: without Send email on your behalf, the connection fails, because Finaxis cannot send from the mailbox. Without View your email messages and settings, the mailbox sends your follow-ups, but your customers' replies and your Gmail signature do not come back into Finaxis.
Finish adding the mailbox
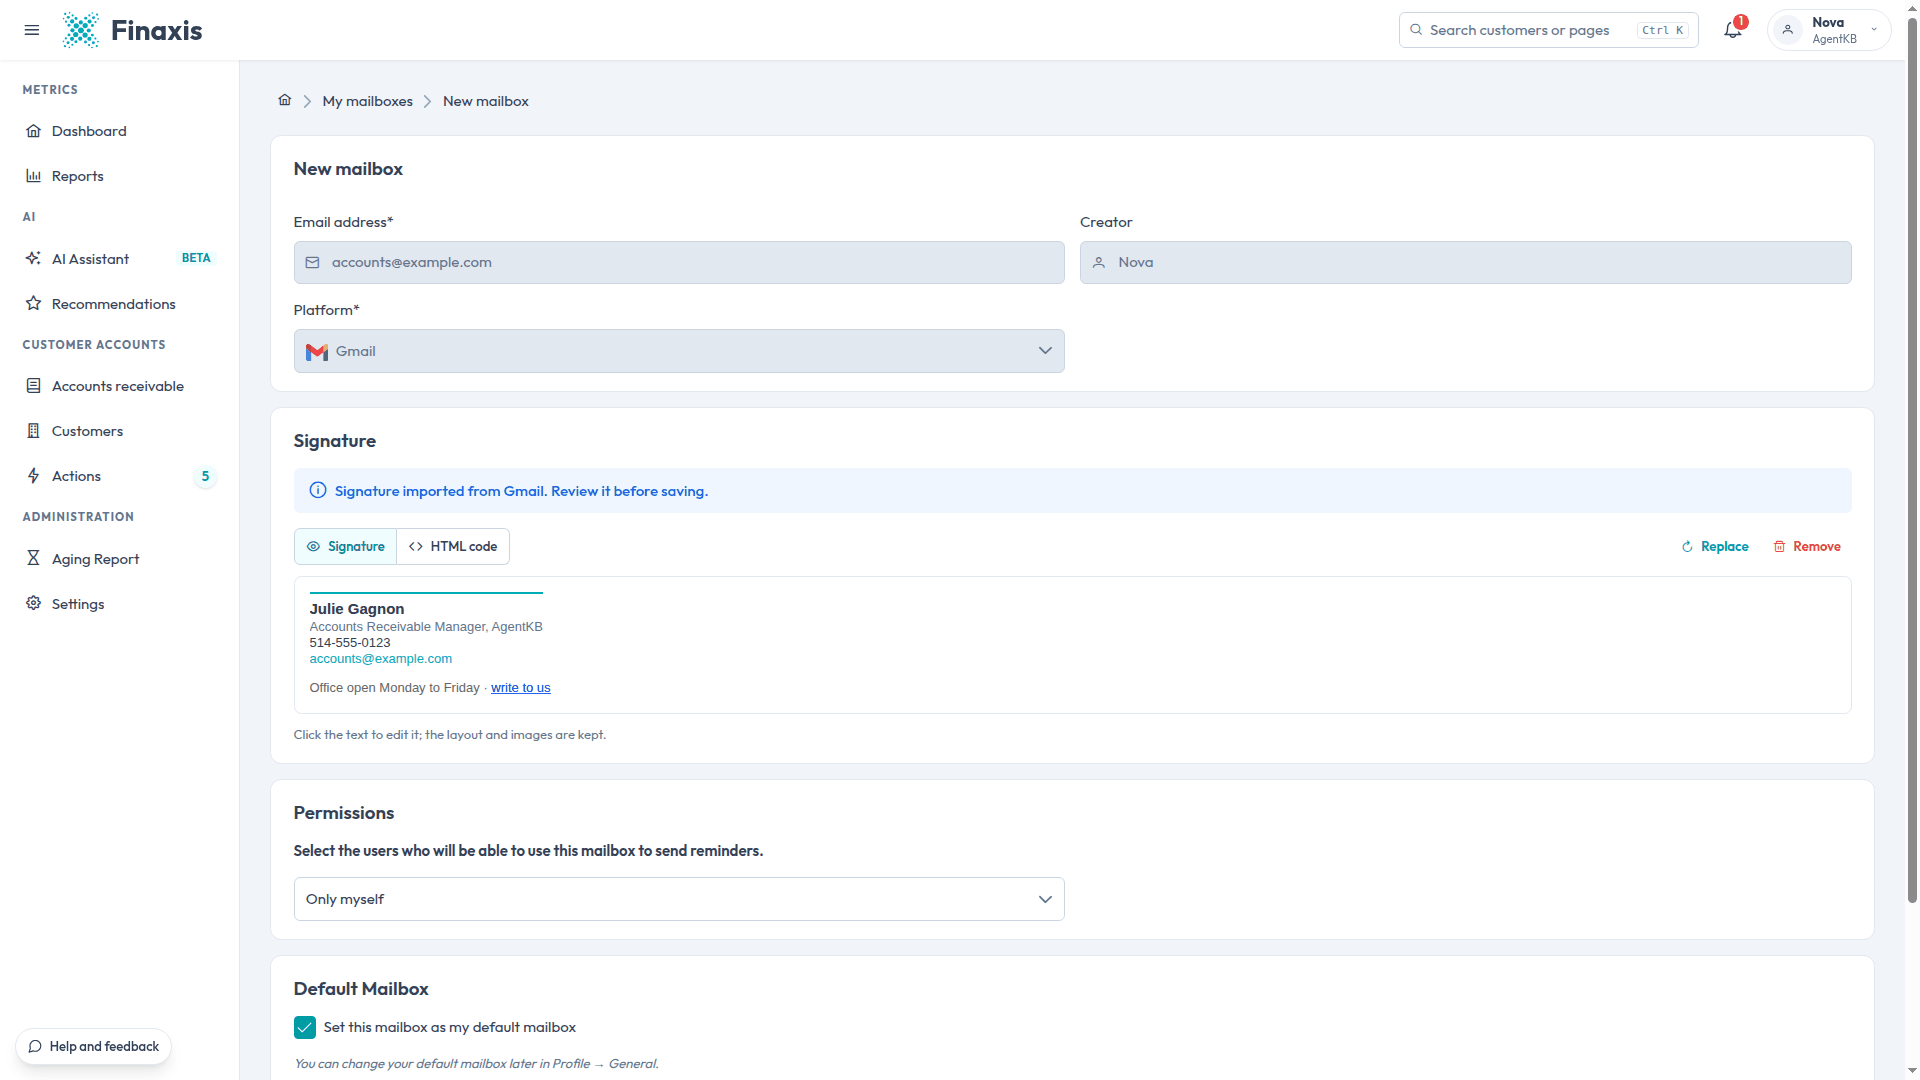
Finaxis fills in the address of the Google account you connected, and you cannot change it. Platform shows Gmail.
Check your Gmail signature
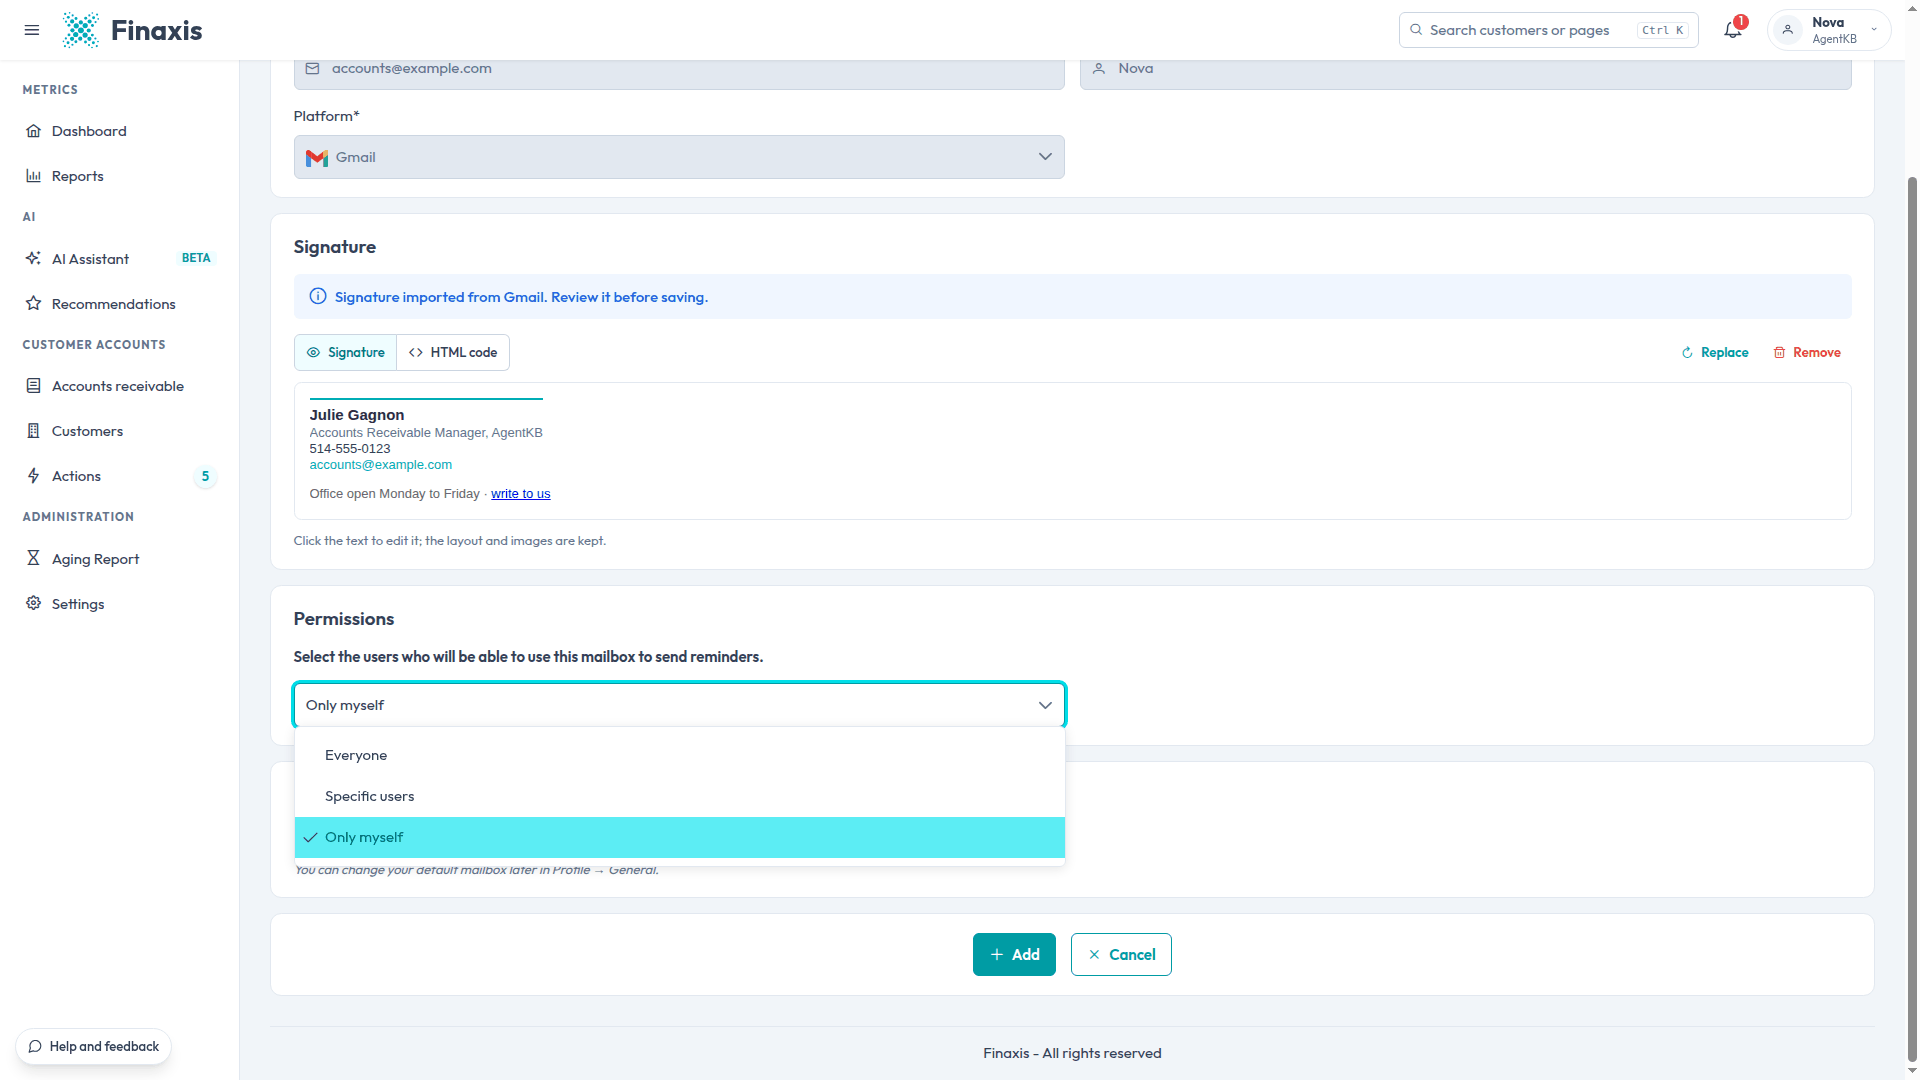
Finaxis picks up the signature set in your Gmail account and adds it to the follow-ups sent from this mailbox. Its layout, colors, links, and images are kept. Under Signature, Finaxis shows Signature imported from Gmail. Review it before saving.
- In the Signature view, read the signature as your customers will see it. To fix a detail, click the text and edit it directly.
- To edit the source, click HTML code. Changes to the code apply directly to the signature.
- To use another signature, click Replace, then paste the new one in the empty frame. To start over in the editor, click Remove.
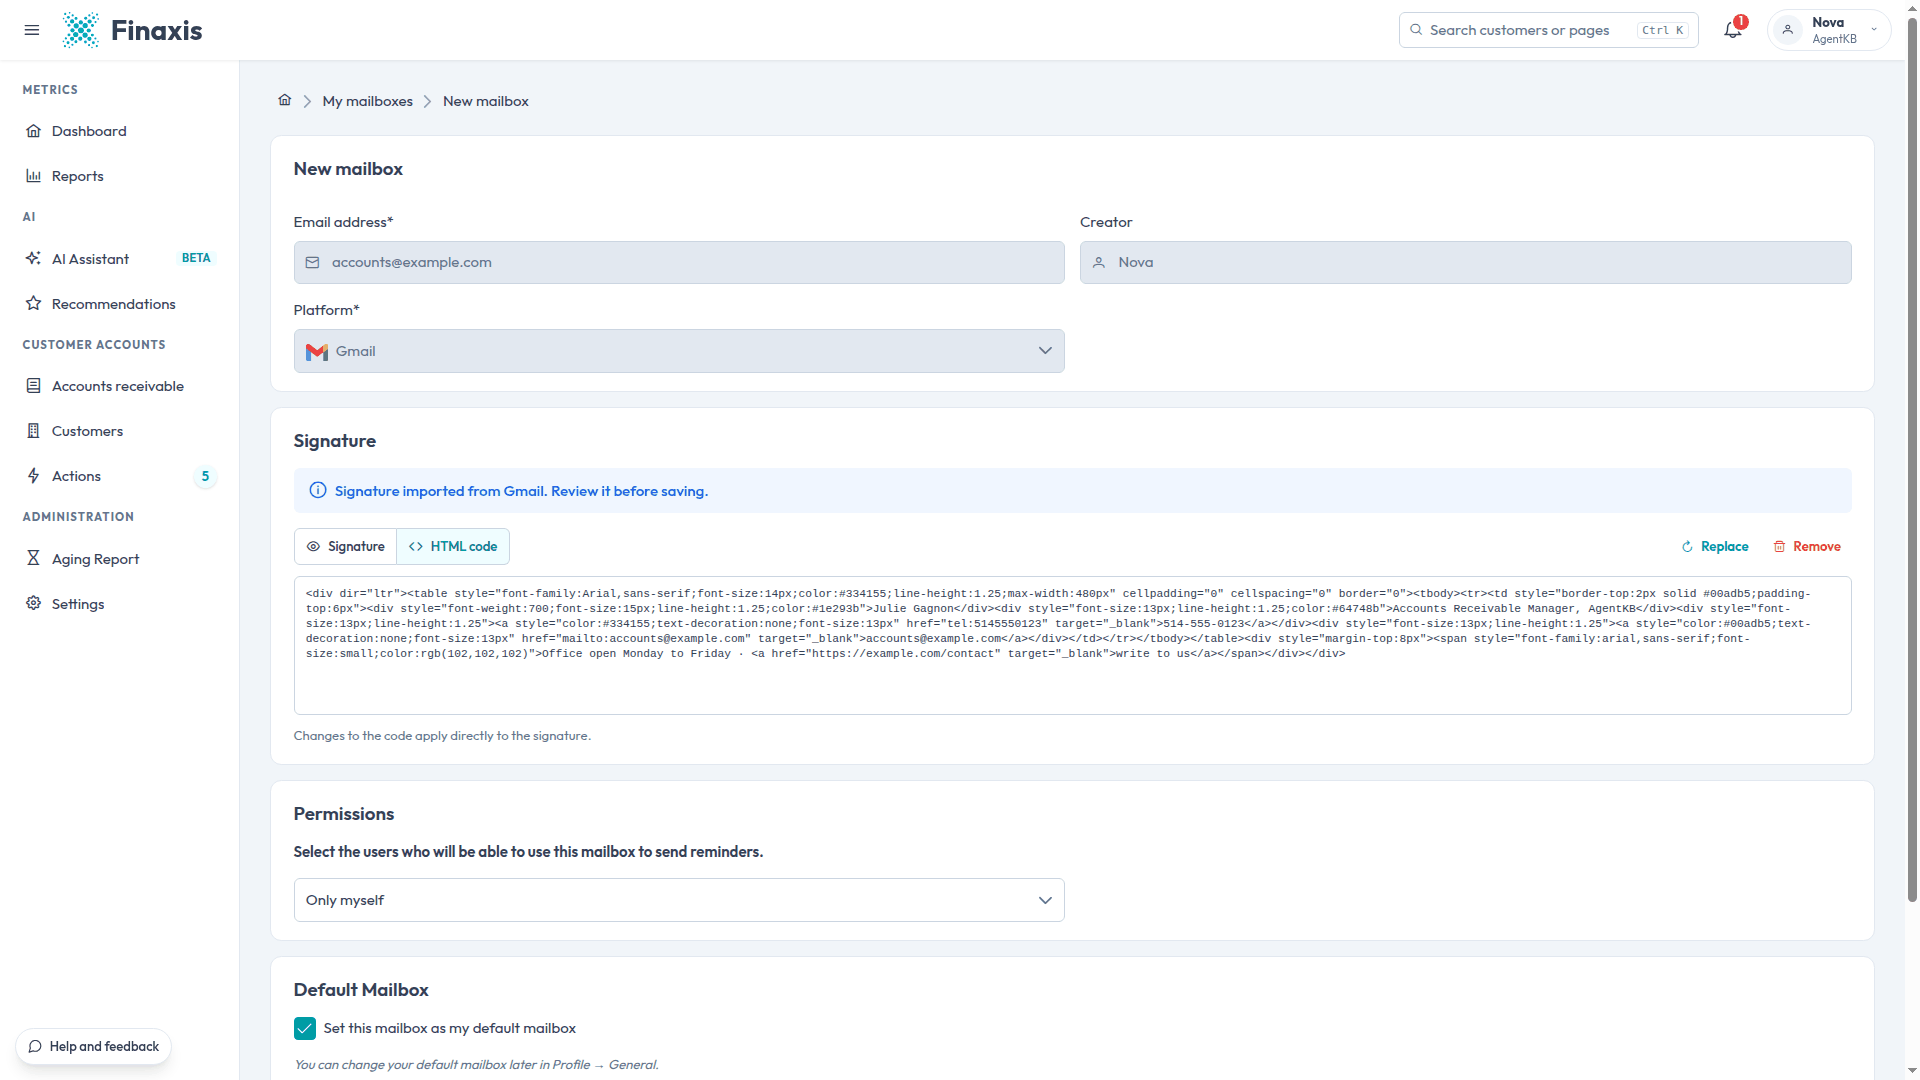
Please note: Finaxis picks up your Gmail signature only when Fetch customer replies is checked and you allowed View your email messages and settings. If your Gmail account has no signature, or if Finaxis cannot read it, Finaxis keeps its default signature and tells you why. You can then write one in the editor, or click Import a signature and paste a signature designed elsewhere.
Choose who can use the mailbox
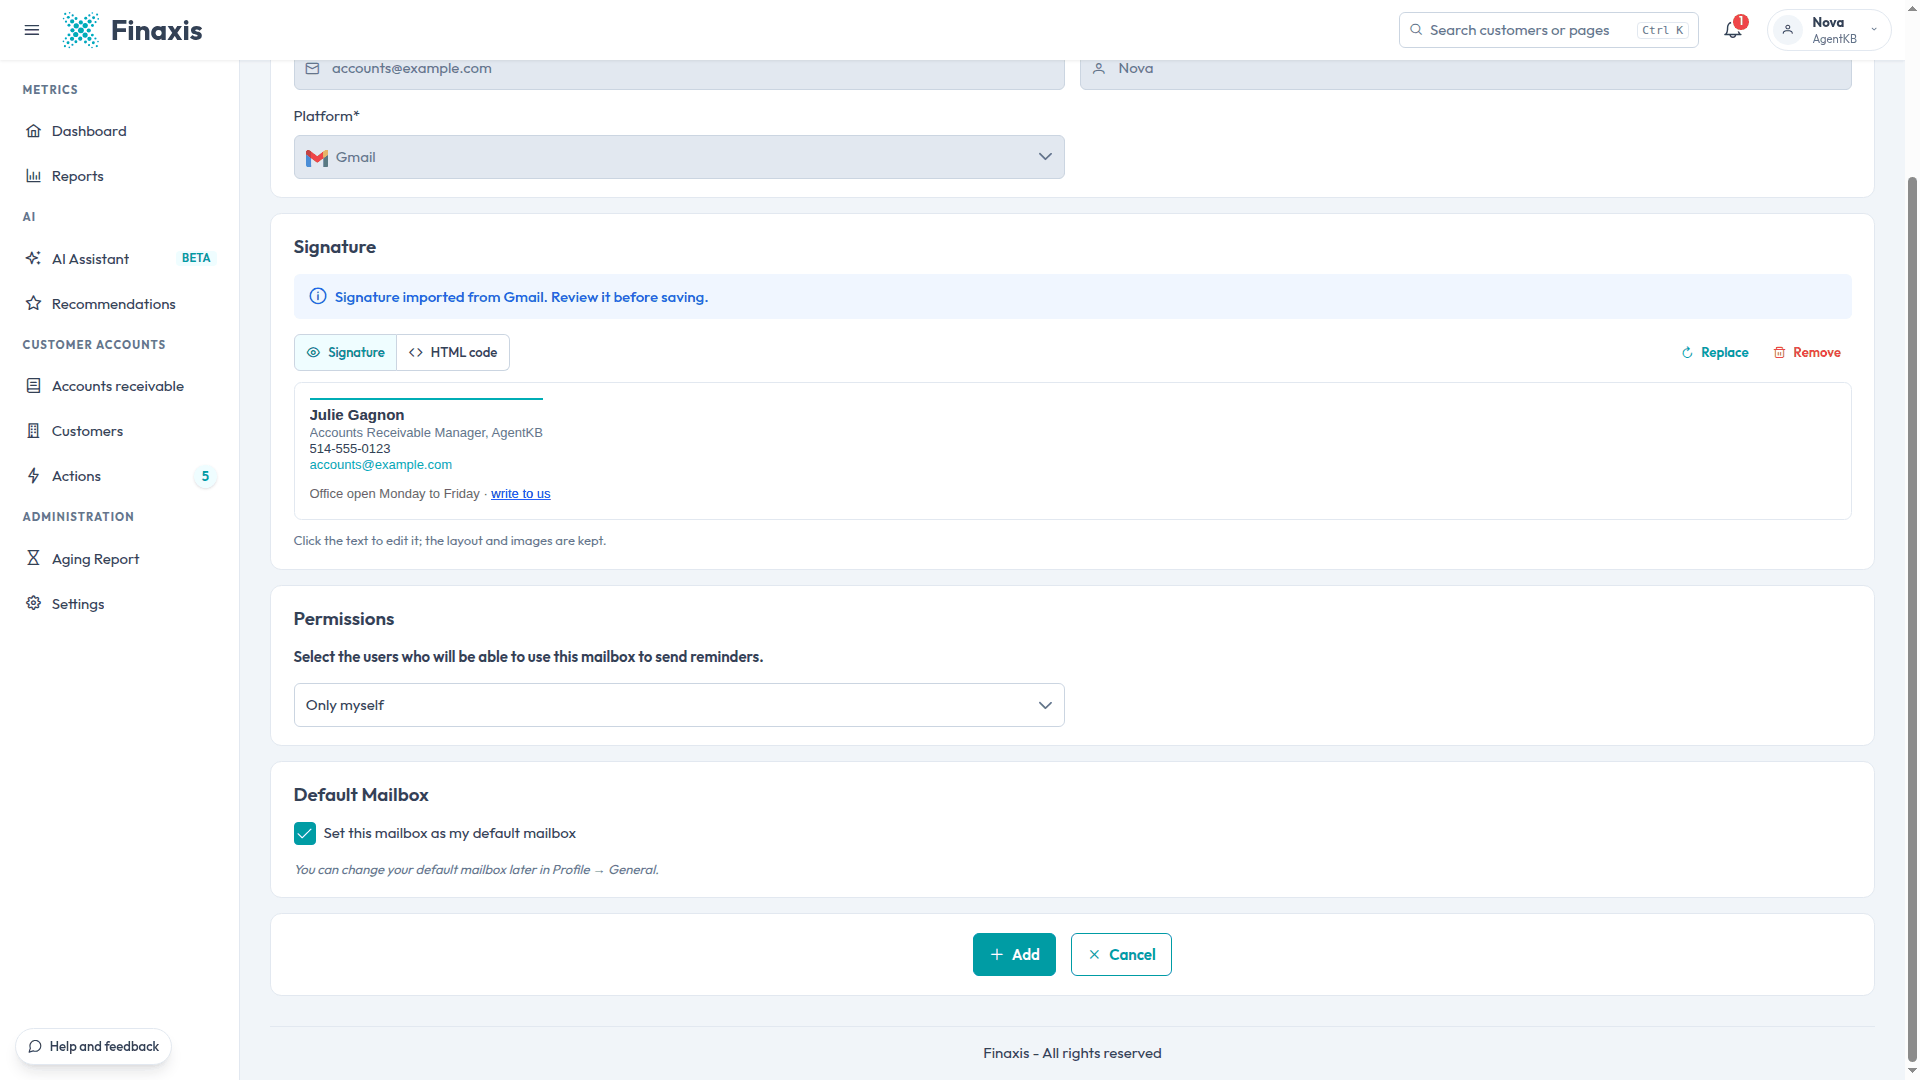
- Under Permissions, choose who can use this mailbox to send follow-ups: Everyone, Specific users, or Only myself. Only myself is selected by default.
- Under Default Mailbox, leave Set this mailbox as my default mailbox checked to send your follow-ups from this mailbox by default.
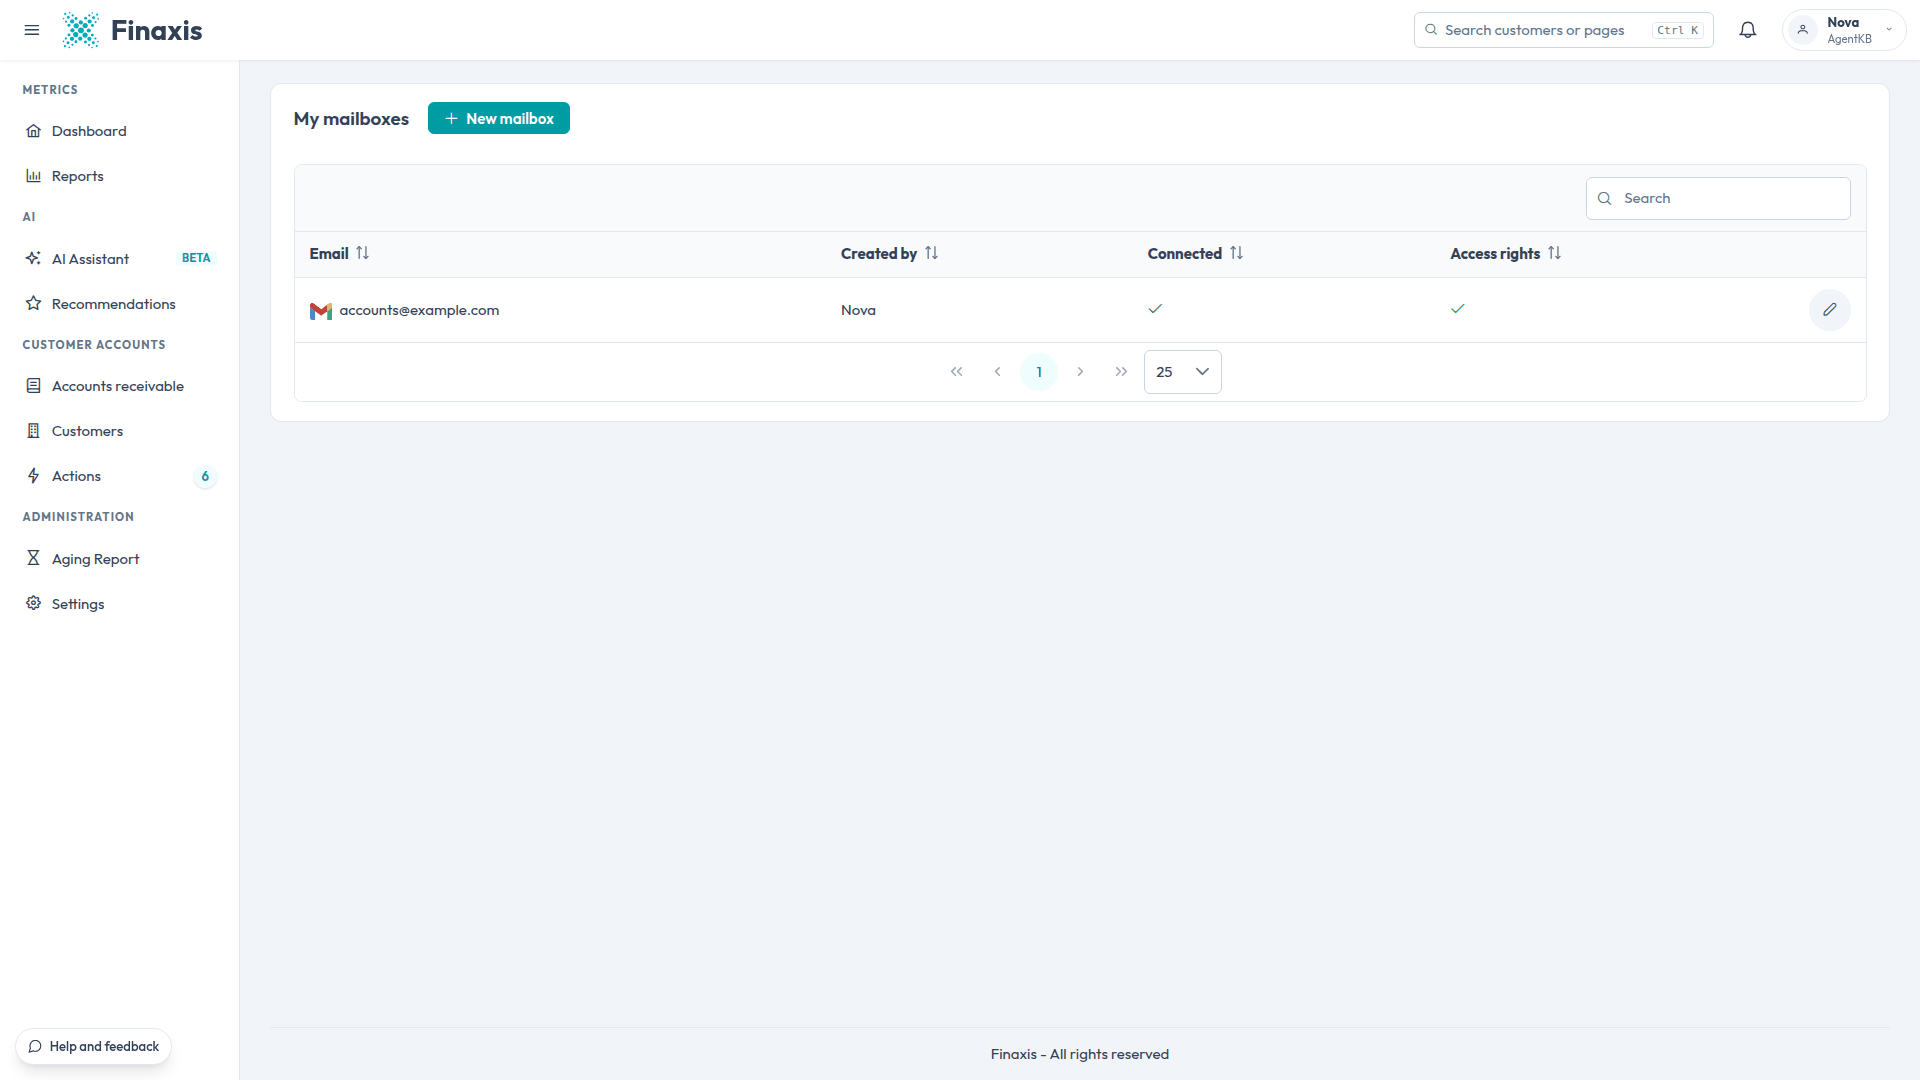
- Click Add. The mailbox appears in My mailboxes, with a check mark under Connected.
Please note: Click Add soon after the Google window closes. If you wait too long, the connection expires and you have to connect the mailbox again.
Troubleshoot the connection
| Situation | What to do |
|---|---|
| The connection fails after you grant access | Connect again and, under Select what Finaxis can access, check at least Send email on your behalf. Finaxis cannot use a Gmail mailbox without it. |
| Your Gmail signature was not picked up | Once the mailbox is added, open it from My mailboxes and click Import the Gmail signature. Only the person who connected the mailbox sees this button. |
| The window says the connection link expired | Close the window, then click Connect my Gmail account in Finaxis again. |
| Finaxis refuses the address | This address is already connected in your instance. Look for it in My mailboxes. |
| A mailbox no longer has a check mark under Connected | Finaxis disconnects a mailbox it can no longer reach and sends an email to the person who connected it. Open the mailbox from My mailboxes: its Status shows whether it is connected, and you can connect it again from there. |
Still unable to connect your mailbox? Write to support@finaxis.ai and our team will help you.
Related articles
Can't find what you're looking for?
Our support team is here to help.